Looking to seal MDF edges? It’s essential to prevent moisture absorption and achieve a smooth paint finish. This guide covers the best methods and tools for sealing MDF edges effectively.
Key Takeaways
- Sealing MDF edges is crucial to prevent moisture absorption and ensure a smooth, durable, and professional paint finish.
- Popular methods for sealing MDF include using wood filler, PVA glue, acrylic primer, shellac-based primer, and edge banding tape, each with its pros and cons.
- Preparation, such as thorough sanding and cleaning of the MDF edges, along with avoiding common mistakes like not sanding between coats, is key to achieving a professional finish.
Proven Methods on How to Seal MDF Edges for a Smooth Finish
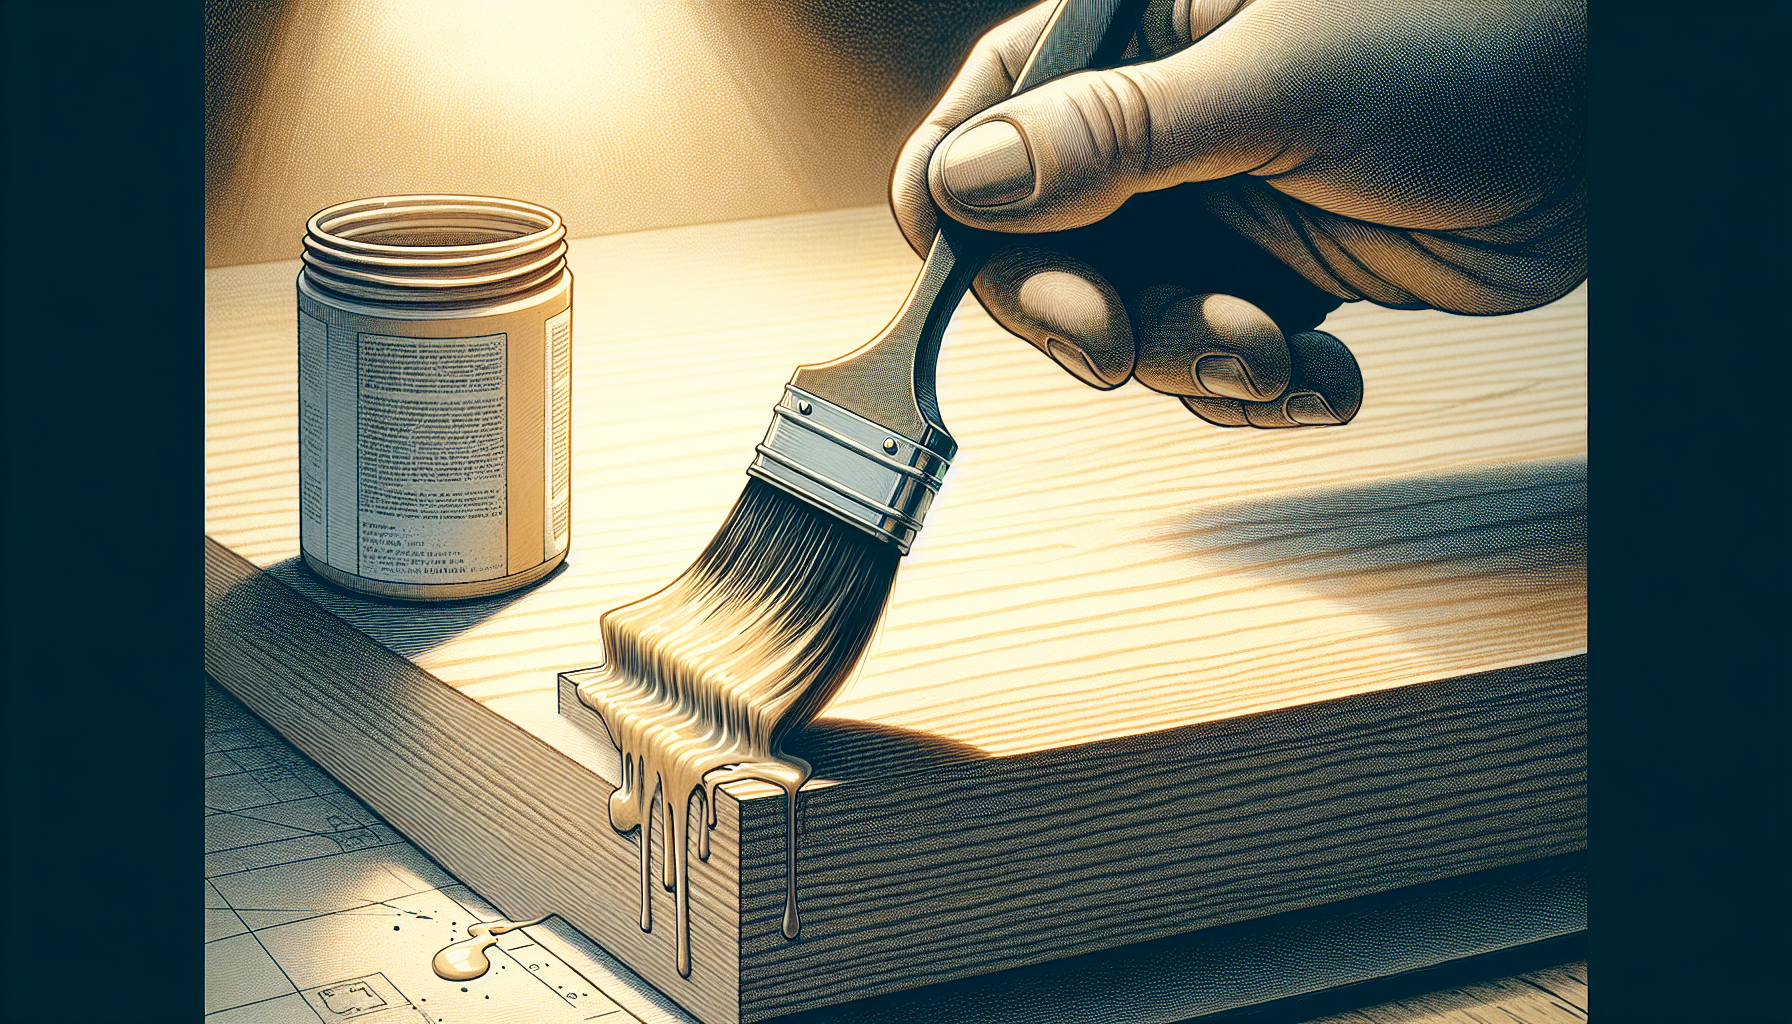
Sealing MDF edges is essential to achieve a smooth and professional finish after painting. The primary goal of sealing MDF is to prevent moisture absorption, which can cause the material to swell and lead to an uneven paint application. Without sealing, the exposed edges of MDF absorb paint unevenly, resulting in a patchy and rough finish.
Skipping the MDF sealing step can lead to significant issues down the line. Not only does it result in a poor finish, but it also affects the durability of your project. Properly sealed edges enhance the durability of the MDF by protecting it from environmental factors like humidity and temperature changes. This protection ensures your projects remain in good condition for longer periods.
Sealing the edges creates a smoother surface, which improves the adhesion and appearance of the paint. A well-sealed MDF edge makes it easier to apply paint evenly, giving your project a professional look. Before we dive into the specific methods, let’s understand why sealing MDF edges is crucial for both the aesthetic and structural integrity of your projects.
Introduction
MDF, or medium-density fibreboard, is a favourite among DIY enthusiasts and professionals alike. Its affordability and versatility make it an excellent choice for a wide range of projects, from furniture to intricate woodworking. Made from compressed wood fibres, the edges of raw MDF can be problematic if not handled correctly. Sealing these edges is paramount because it helps to create a smooth finish that can be painted or treated further
In this guide, we’ll cover various methods to seal MDF edges, ensuring a high-quality finish effectively. We’ll walk you through techniques such as:
- Using wood filler
- Using PVA glue
- Applying acrylic primer
- Applying shellac-based primer
- Using the edge banding technique
Each method has its unique advantages and challenges, and we’ll provide you with all the details you need to choose the best one for your project. So, get ready to transform your MDF projects from good to great with these sealing techniques.
Why Sealing MDF Edges Is Crucial
Sealing MDF edges is not just an extra step; it’s a crucial part of the process that ensures the longevity and quality of your project. One of the primary reasons for sealing MDF edges is to prevent moisture absorption. MDF is highly susceptible to swelling when it comes into contact with moisture, which can ruin the look and structural integrity of your project.
When painting MDF, it is important to seal the edges to achieve a smooth and professional finish. Here’s why:
- Unsealed MDF edges absorb paint unevenly, resulting in a patchy and rough finish.
- Sealing the edges provides a stable surface for paints and finishes.
- It ensures that the paint adheres properly and evenly, improving the durability of the paint job.
In addition to improving the appearance of the paint, properly sealed edges enhance the durability of the MDF by protecting it from environmental factors like humidity and temperature changes. This protection is crucial for maintaining the integrity of your projects over time. By taking the time to seal MDF edges correctly, you ensure that your work not only looks good but also stands the test of time.
Essential Tools and Materials
Before you start sealing MDF edges, it’s important to gather all the necessary tools and materials. Having everything on hand will make the process smoother and more efficient. Here are the essential items you’ll need:
- Sandpaper with a grit of 240 is recommended to smooth MDF edges before sealing. This will help create a clean surface to which the sealing material can adhere.
- Wood filler is commonly used to seal MDF edges. When sanded properly, it provides a smooth finish. It’s a great product for filling any gaps or imperfections in the MDF.
- PVA glue, when watered down to the consistency of milk, can be used to seal MDF edges, though it requires multiple coats. A roller or a spreader can effectively apply the PVA glue.
- Acrylic primer is an effective and relatively inexpensive material for sealing MDF edges. It can be applied using a roller or a spray gun.
- Edge banding tape is another popular option. It can be easily applied with an iron to seal MDF edges and provide a perfect finish. Paintable Edging Tape can also be used with a hot air edge bander.
With these tools and materials ready, you’re well-equipped to take on the task of sealing MDF edges, ensuring a smooth finish without any saw marks.
Next, we’ll walk you through the preparation steps to ensure your cut edges are ready for sealing.
Preparing MDF Edges for Sealing
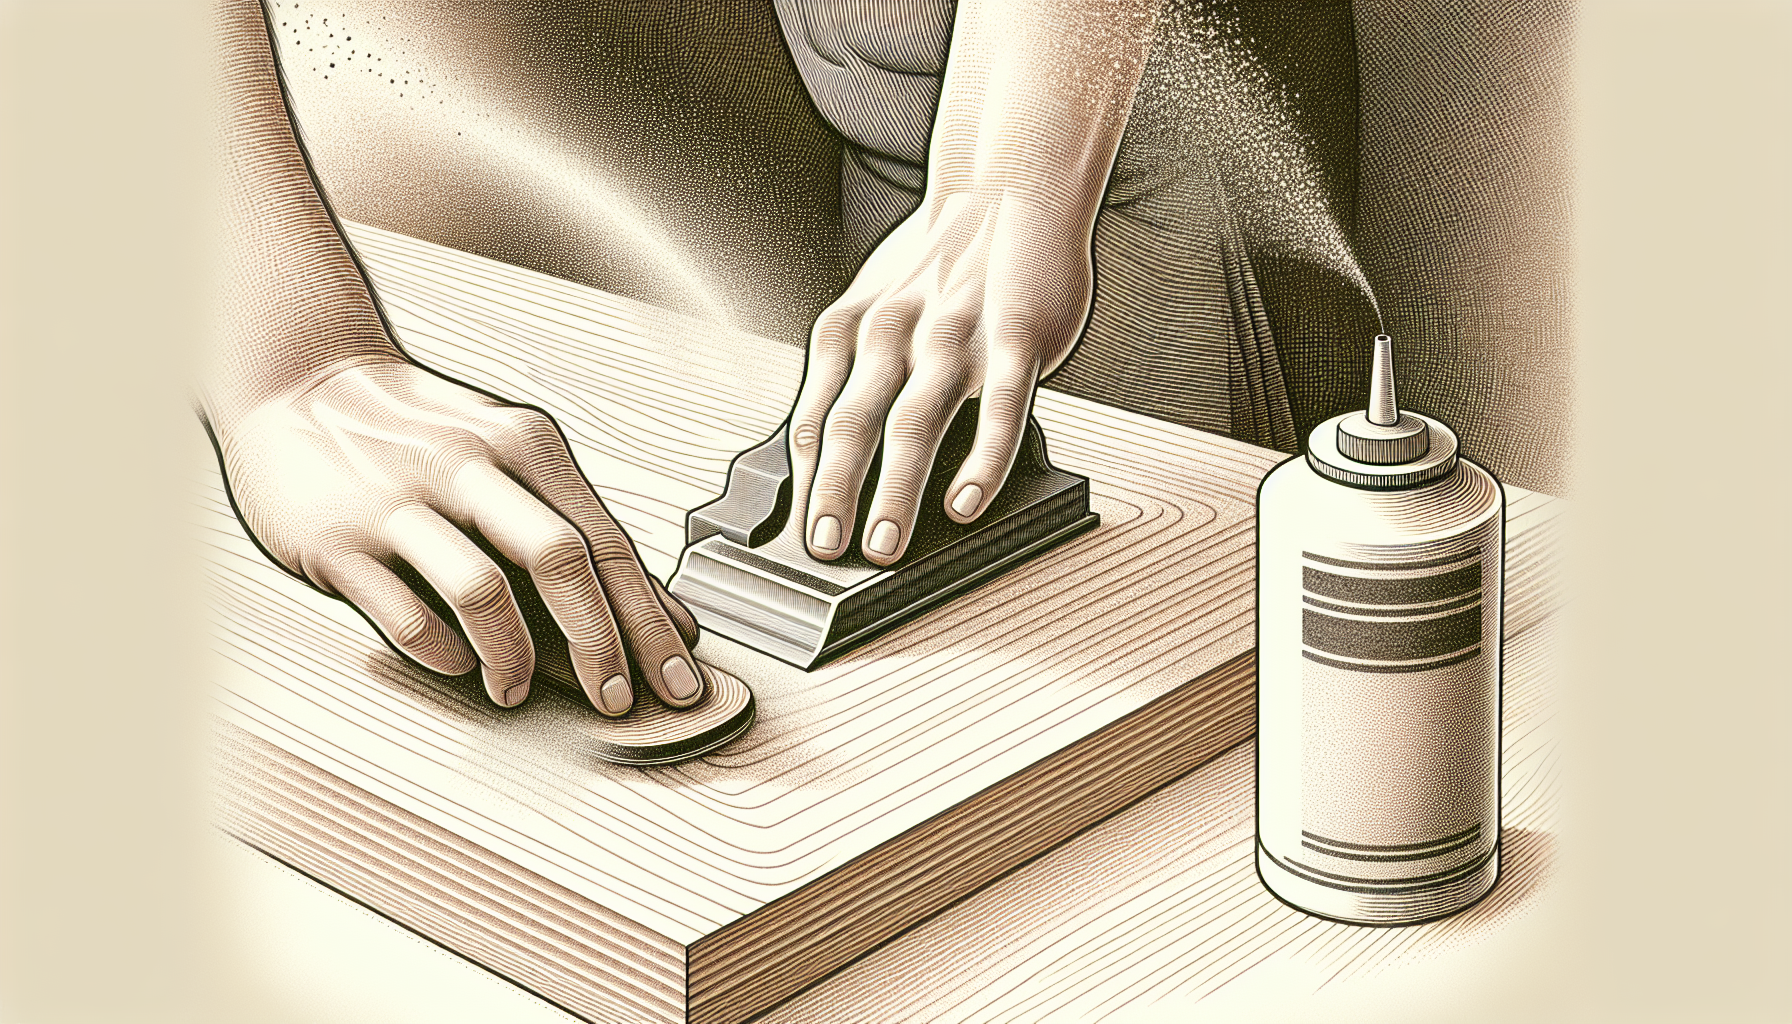
Preparation is key to achieving a professional finish when sealing MDF edges. Start by wiping down the MDF thoroughly with a damp cloth to remove any dirt, dust, or debris on the surface. It’s essential to have a clean surface to work with, as any contaminants can affect the adhesion of the sealing material.
After cleaning, allow the MDF to dry completely before proceeding with other steps. Once dry, the next step is sanding. Always sand with the direction of the grain to avoid damaging the MDF. Use sandpaper with a grit of 240 to smooth the MDF edges, paying particular attention to any rough or uneven areas.
After sanding, sand lightly once more, and then wipe off all dust with a dry cloth to ensure a clean surface for priming and painting. This step is crucial because any remaining dust can interfere with the sealing process, leading to a less-than-perfect finish.
With your MDF edges prepped and ready, it’s time to choose the sealing method that best suits your project.
Method 1: Using Wood Filler
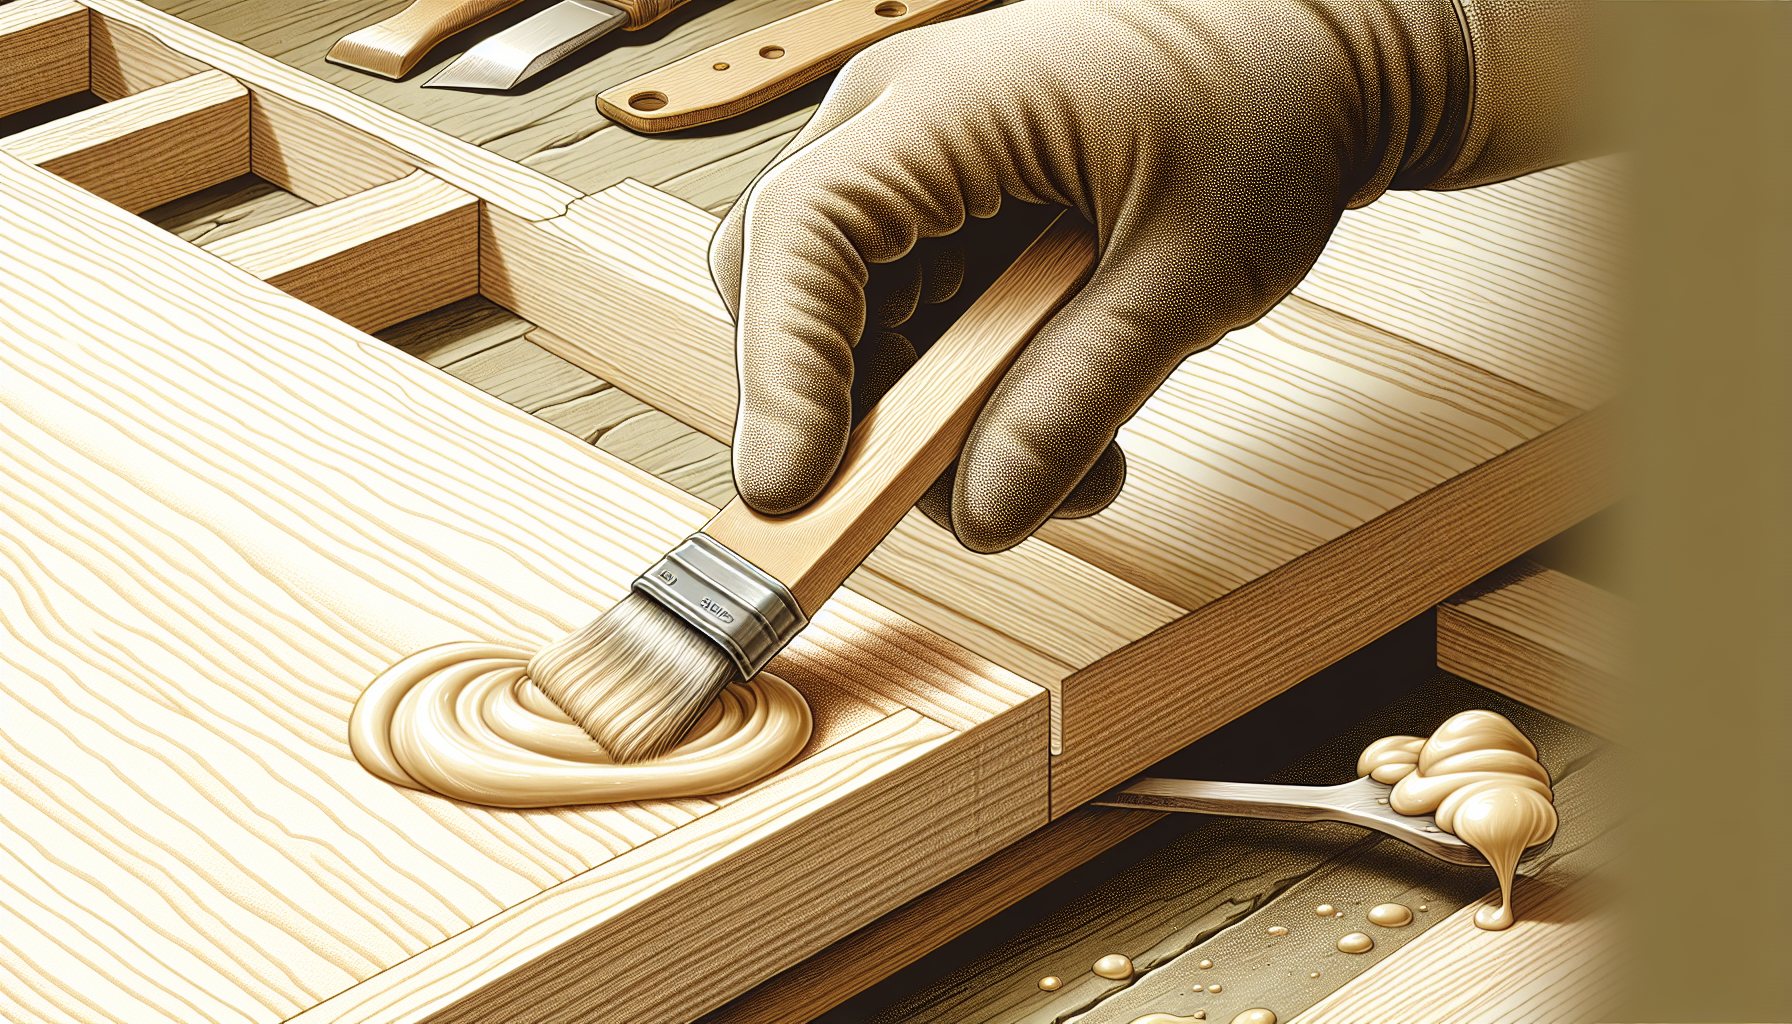
Using wood filler is a popular method for sealing MDF edges, and for a good reason. Here’s how to do it:
- Start by mixing the wood filler according to the manufacturer’s instructions.
- Be aware that the mixture emits a strong odour, so ensure proper ventilation and consider wearing a mask.
- Once mixed, wood filler has a working time of about 10 minutes.
To apply wood filler to MDF edges, follow these steps:
- Use a putty knife to apply the wood filler evenly.
- Wood filler is commonly used to seal MDF edges. When sanded properly, it provides a smooth finish. It’s a great product for filling any gaps or imperfections in the MDF.
- After the filler has dried, sand the edges smooth.
- MDF edges sealed with wood filler should feel silky smooth to the touch.
This method is particularly effective for filling any gaps or imperfections in the MDF, ensuring a smooth and even surface for painting. Once the edges are sealed and sanded, you can proceed with priming and painting MDF, confident that your project will have a professional finish.
Method 2: Applying PVA Glue
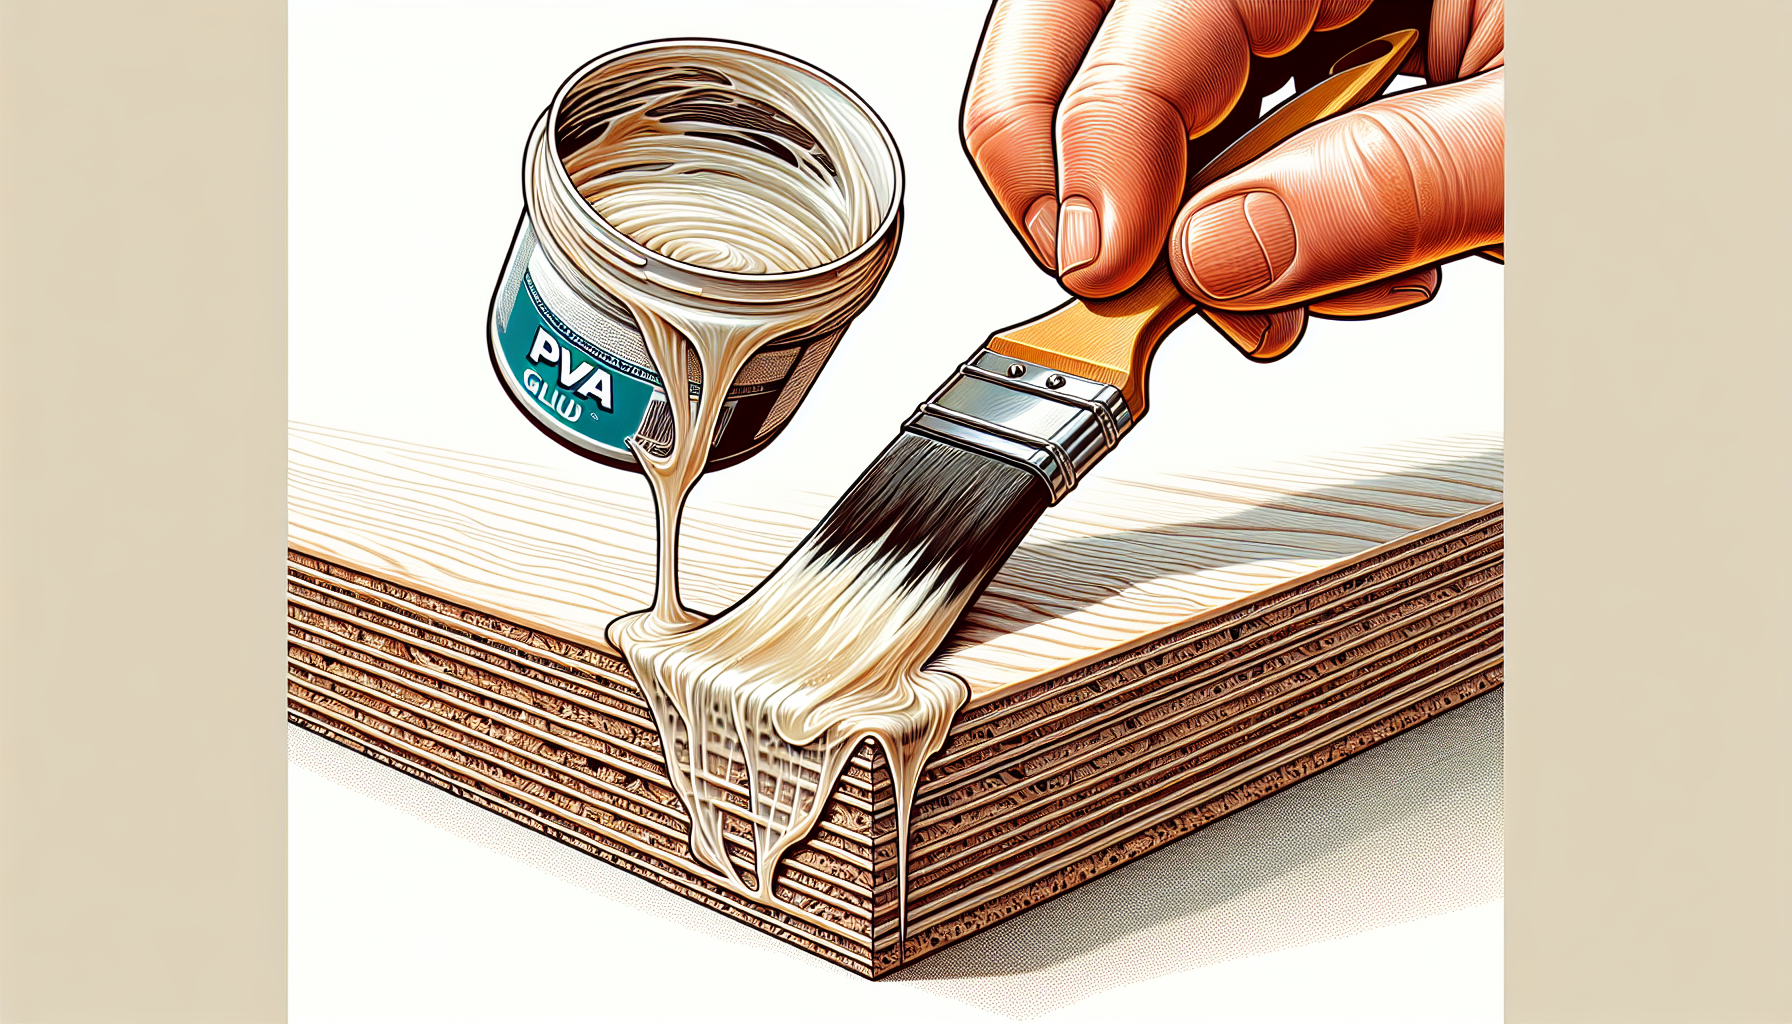
Another method for sealing MDF edges is using PVA glue, also known as yellow glue. Here’s how to do it:
- Dilute the PVA glue with water to achieve a thinner application layer.
- Thin layers of PVA glue should be applied to MDF edges to avoid build-ups.
- Use a roller or a brush to apply the glue evenly across the edges.
After applying the first coat, allow it to dry completely before sanding lightly to achieve a smooth finish. This process may need to be repeated multiple times to ensure the edges are fully sealed. While this method requires patience and multiple coats, it can be an effective way to seal MDF edges and prepare them for painting.
Method 3: Using Acrylic Primer
Acrylic primer is a cost-efficient and effective method for sealing MDF edges. It can be applied using either a roller or a spray gun, making it a versatile option for different projects. Here’s how to use acrylic primer to seal MDF edges:
- Start by applying a thin coat of acrylic primer to the MDF edges.
- Allow each coat to dry for approximately 30 minutes before proceeding.
- After the primer has dried, you can proceed with sanding or applying additional coats as needed.
Priming the entire MDF piece, including edges, with acrylic primer and then sanding can create a smooth, even finish. This method is particularly beneficial because it:
- Prepares the MDF for both water-based and oil-based paints
- Ensures a smooth and professional look
- Multiple coats may be needed, but the result is worth the effort.
Acrylic primer is praised for its ease of application and cost-effectiveness. It provides a stable surface for paints and finishes, ensuring that the paint adheres properly and evenly. This method is an excellent choice for those looking to achieve a high-quality finish on a budget.
Method 4: Sealing with Shellac-Based Primer
A shellac-based primer is an excellent option for sealing MDF edges. Products like Zinsser Bin Primer are highly effective in preventing absorption issues and providing a smooth finish.
Shellac-based primers, including bin shellac, offer:
- Superior adhesion and sealing properties with just two coats
- Excellent stain-blocking abilities
- Quick drying time, making them ideal for time-sensitive projects.
To use a shellac-based primer, follow these steps:
- Apply the first coat to the MDF edges and allow it to dry. This usually takes around 30 minutes.
- Apply a second coat and let it dry completely before sanding lightly to achieve a smooth finish.
- The quick drying time of shellac primers helps speed up project timelines, making this method particularly efficient.
Shellac-based primers are particularly effective for sealing bare MDF and surfaces with knots. They provide a durable and smooth surface for painting, ensuring a professional finish. This method is highly recommended for those looking for a quick and effective way to seal MDF edges.
Method 5: Edge Banding Technique
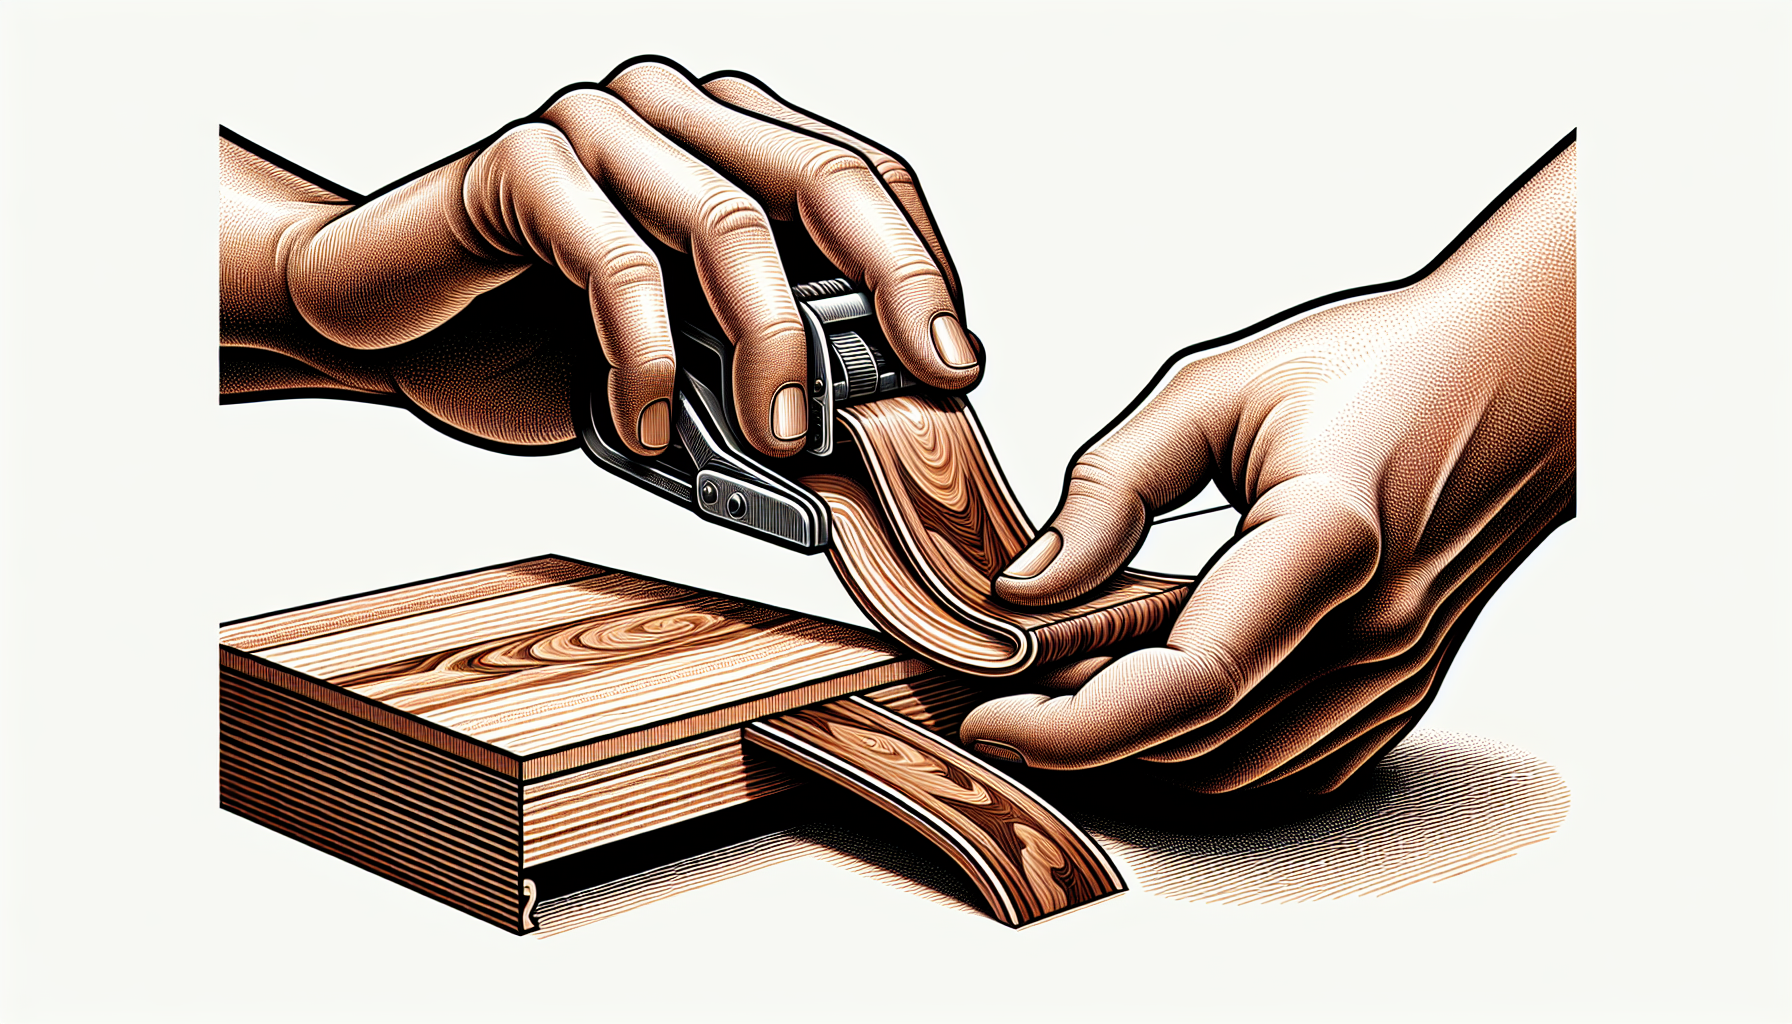
The edge banding technique is a quick and high-quality method for sealing MDF edges, including flat edges. MDF Edging Tape is available pre-glued and can be ironed on with a normal iron on a medium setting. This method is highly rated for its overall effectiveness, resulting in a high-quality finish.
To apply edge banding, follow these steps:
- Place the edging tape on the MDF edge.
- Use an iron to heat the tape, allowing the glue to adhere to the MDF.
- Trim any excess tape with a sharp blade.
- Lightly sand any rough edges.
This method is quick and provides a near-perfect finish, making it a favourite among professionals.
Edge banding is particularly effective for projects where a high-quality finish is essential. It offers the following benefits:
- Seals the MDF edges completely, preventing any moisture absorption
- It provides a smooth surface for painting
- Rated 5 out of 5 stars for its ease of application and superior results.
Comparing Different Methods
When it comes to sealing MDF edges, not all methods are created equal. PVA glue, for example, provided rough, pitted, and raw textures even after multiple coats, scoring only 2 out of 5 stars for effectiveness. Methods like spackle or Polyfilla were even less effective, with rough and pitted textures, earning just 1 out of 5 stars
On the other hand, acrylic primer was rated 3 out of 5 stars for its effectiveness in sealing MDF edges, providing a relatively smooth finish. The edge banding technique stood out as the best solution, rated 5 out of 5 stars for its quick application and high-quality finish. By comparing these methods, you can choose the one that best fits your project needs and achieve the best possible finish.
Common Mistakes to Avoid
When sealing MDF edges, it’s easy to make some common mistakes that can compromise the final finish. One of the most frequent errors is not sanding between coats. This step is crucial for proper adhesion between layers of primer and paint. Skipping this can result in a finish that peels or chips over time.
Some common mistakes when painting are:
- Using low-quality paint, such as water-based paints, often leads to poor adhesion and an increased chance of chipping
- Applying paint too thickly can cause runs or drips and spoil the smooth finish
- Not allowing proper drying times between coats can ruin the previous layers, making the finish uneven and less durable. It takes paint longer to dry when applied too thickly or in humid conditions.
By avoiding these common pitfalls, you can ensure a professional finish on your MDF projects.
Tips for Achieving a Professional Finish
Achieving a professional finish when sealing MDF edges requires attention to detail and a few key techniques. First, after sealing, lightly sand the entire surface and edges with 220-400 grit sandpaper. This step helps primer and paint adhere better. Lightly sanding between all coats will smooth out brush marks and create a level surface.
When applying paint, here are some tips to keep in mind:
- Always back brush when rolling to eliminate roller marks for a smooth finish.
- Thinning the first coat by 10-15% with paint thinner can prevent a blotchy topcoat.
- Using painter’s pyramids can help prevent dust specs in the finish and allow for quick drying.
Investing in quality brushes is another tip for a good finish. They hold more paint, reduce brush strokes, and achieve a smoother finish. For top coats, spray gloss paint is recommended to achieve a smooth, brush-stroke-free finish. By following these tips, you can ensure a high-quality, professional finish on your MDF projects.
Summary
Sealing MDF edges is a crucial step in ensuring a smooth and durable finish on your projects. We’ve explored several effective methods, including using wood filler, PVA glue, acrylic primer, shellac-based primer, and edge banding. Each method has its unique advantages and challenges, but all aim to prevent moisture absorption and provide a stable surface for paints and finishes.
By understanding the importance of sealing MDF edges and choosing the right method for your project, you can achieve professional results that last. Whether you’re a seasoned DIYer or a beginner, these techniques will help you transform your MDF projects from good to great. So, grab your tools and materials, and get ready to give your MDF projects the perfect finish they deserve.
Frequently Asked Questions
Q: What is the best method for sealing MDF edges?
A: The best method for sealing MDF edges is edge banding, which is quick to apply and delivers a high-quality finish. Try it out and see for yourself!
Q: How many coats of primer are needed to seal MDF edges?
A: Two coats of primer, such as a shellac-based primer, are usually sufficient for sealing MDF edges.
Q: Can I use regular PVA glue to seal MDF edges?
A: Yes, you can use regular PVA glue to seal MDF edges. Just make sure to dilute it with water for a thinner application layer. Multiple coats may be needed for the best results.
Q: Why is sanding between coats essential?
A: Sanding between coats is essential because it ensures proper adhesion between layers of primer and paint, leading to a smoother and more durable finish. Sanding helps to create a better bond between the layers.
Q: What are the common mistakes to avoid when sealing MDF edges?
A: To ensure a successful finish when sealing MDF edges, avoid common mistakes like not sanding between coats, using low-quality paint, applying paint too thickly, and not allowing proper drying times between coats. These steps will help you achieve a professional result.
