If you’re wondering how to paint MDF for a smooth, professional finish, you’re in the right place. This guide will walk you through each step—from preparation to priming to painting—so you can confidently tackle your project. By following these steps, you’ll ensure a flawless result every time.
Key Takeaways
- Proper preparation, including cleaning, sanding, and sealing MDF edges, is crucial for achieving a smooth and professional paint finish
- Applying a suitable primer, such as oil-based or acrylic, is essential to ensure even paint absorption and a uniform appearance.
- For a professional look, multiple thin coats of high-quality acrylic latex or enamel paint should be applied, with light sanding between coats and a protective top coat for durability.
Preparing MDF for Painting
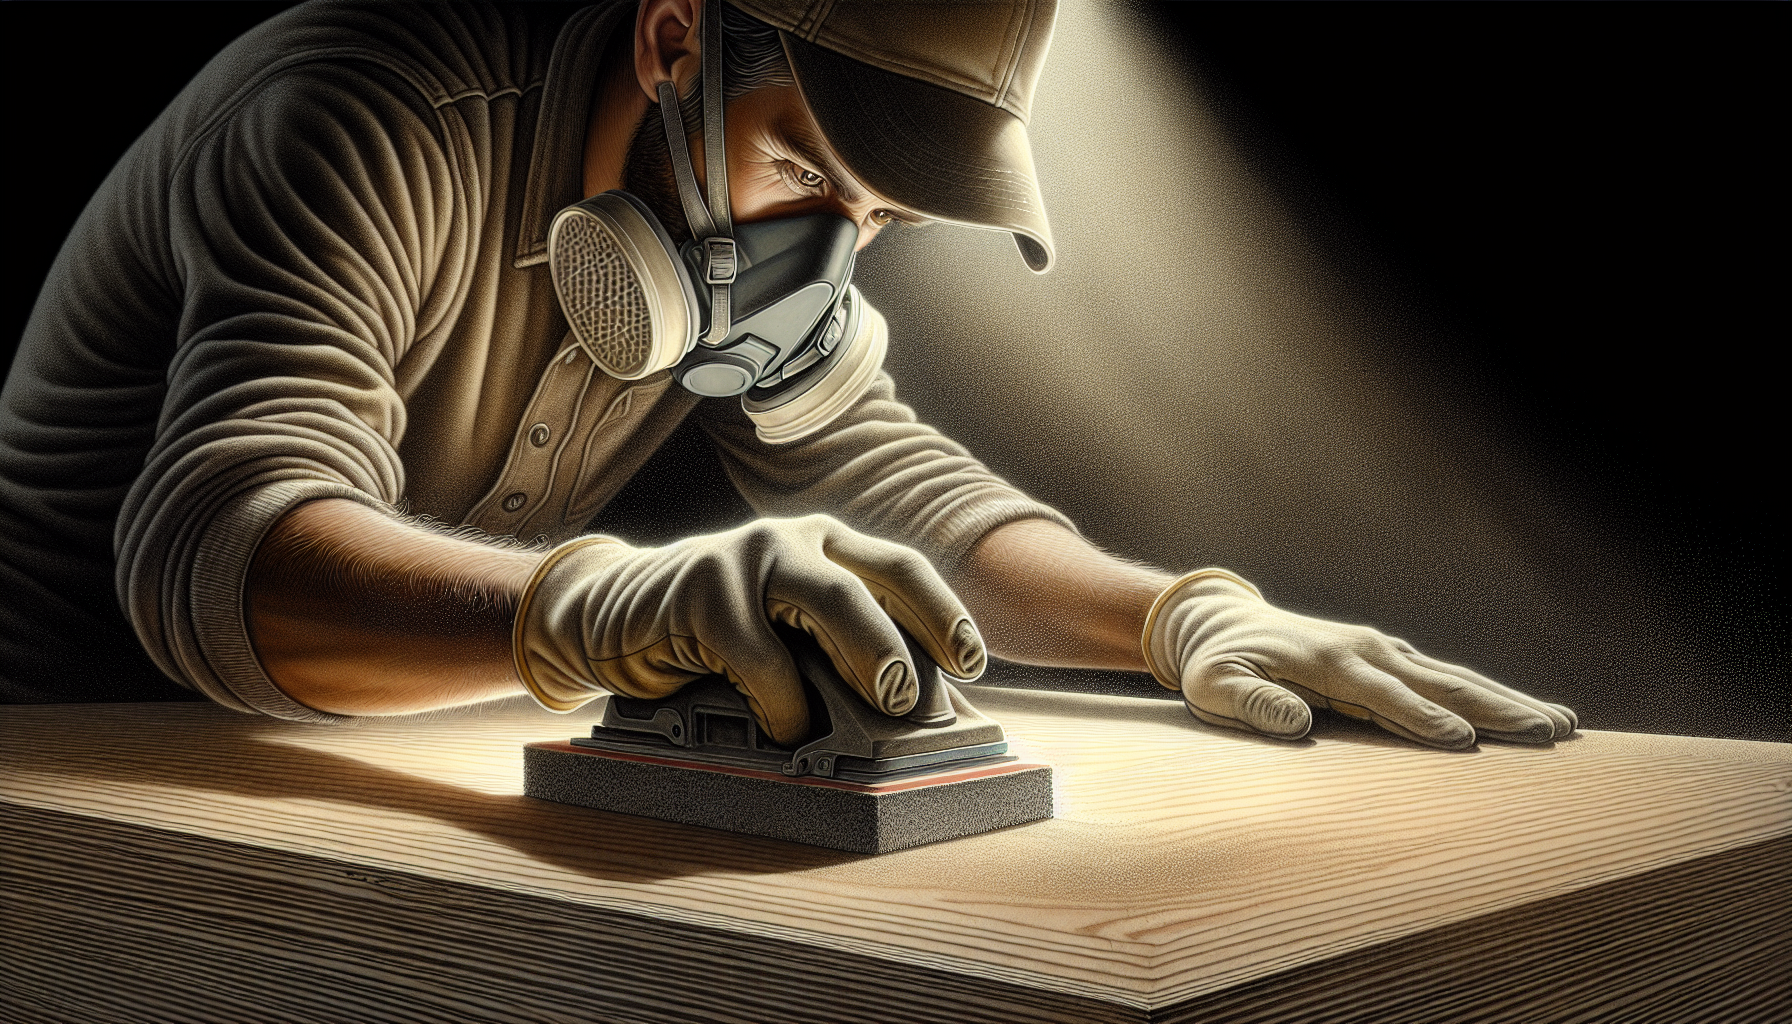
Proper preparation of MDF is the cornerstone of achieving a smooth and professional finish. Skipping these crucial steps can lead to a poorly executed project. The journey to a flawless paint job begins with cleaning the MDF surface, followed by sanding to create a smooth base and sealing the edges to prevent uneven paint absorption.
By meticulously preparing the MDF, you set the stage for a successful painting experience. Let’s examine the essential preparation steps that will prepare your MDF surface for painting.
Cleaning the MDF Surface
The first step in preparing MDF for painting is to clean the surface thoroughly. Dust, dirt, and debris can interfere with paint adhesion, leading to an uneven finish. Start by wiping down the MDF with a damp cloth to remove all contaminants. It’s essential to ensure that the MDF is completely dry before moving on to the next step. This simple yet critical step lays the foundation for a smooth and uniform paint finish.
Once the MDF is clean and dry, you’re ready to proceed. This initial cleaning step, though often overlooked, is crucial to the overall success of your painting project. Remember, a clean surface is a happy surface!
Sanding the MDF
Sanding is where you begin to see your MDF transform. Here’s how to do it:
- Using 120-grit sandpaper, start by sanding the MDF to remove any rough spots or imperfections.
- This initial sanding helps to create a smooth surface for the paint to adhere to.
- It’s crucial to sand in the direction of the grain to avoid damaging the MDF
After the initial sanding, switch to finer grit sandpaper, ideally 220 grit, to smooth the surface further. This process might seem tedious, but it’s essential for achieving a professional finish. If you skip adequate sanding or only use fine grit, your paint may not adhere well, and the finish may be uneven. Properly sanding the surface is essential to achieving good paint adhesion and a smooth finish.
Always remember to remove the dust with a tack cloth after sanding. This ensures that no particles interfere with the primer and paint. A well-sanded MDF surface is the key to a flawless paint job.
Sealing MDF Edges
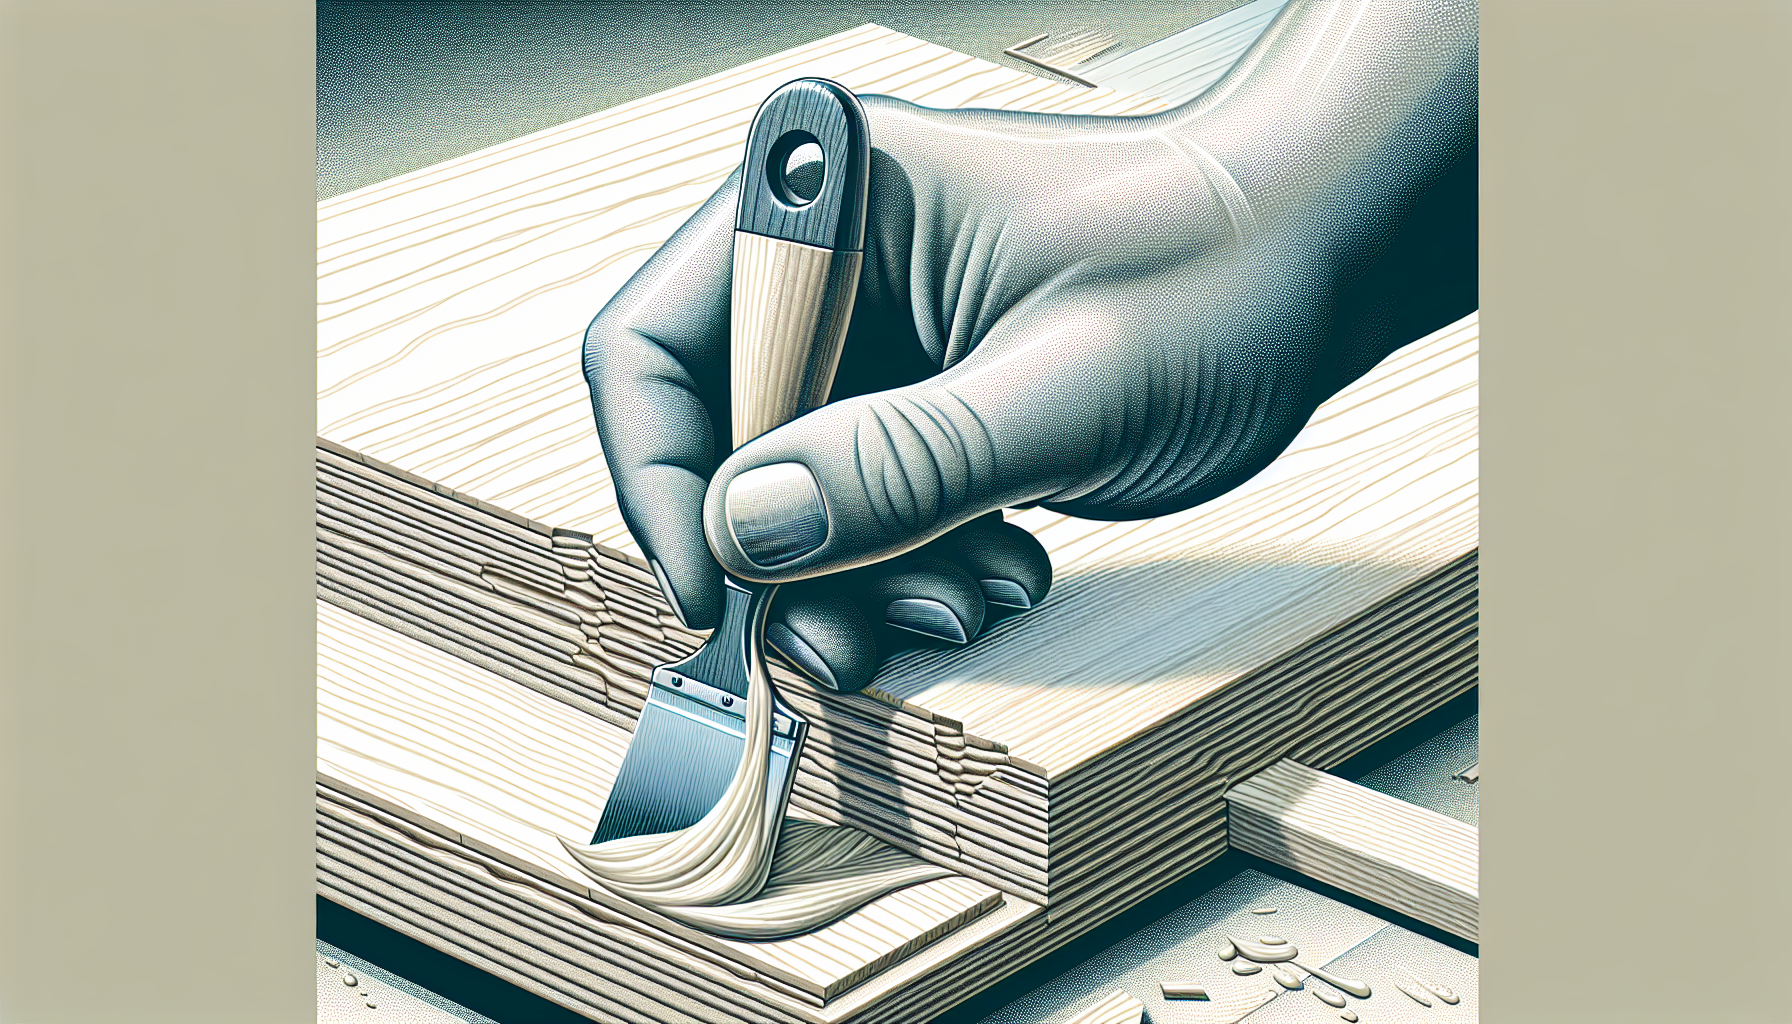
The edges of MDF are particularly porous and can absorb paint unevenly, leading to a rough finish. To prevent this, it’s crucial to seal the edges. Start by sanding the edges with 120-grit sandpaper to prepare them for sealing. Then, apply an acrylic polymer-based filler or a product like Dulux Trade Quick Dry MDF Primer.
After applying the wood filler, allow it to dry thoroughly before sanding the edges again with 320-grit sandpaper to smooth them out. This step ensures that the edges are sealed and ready for priming, leading to a uniform paint finish.
Priming MDF
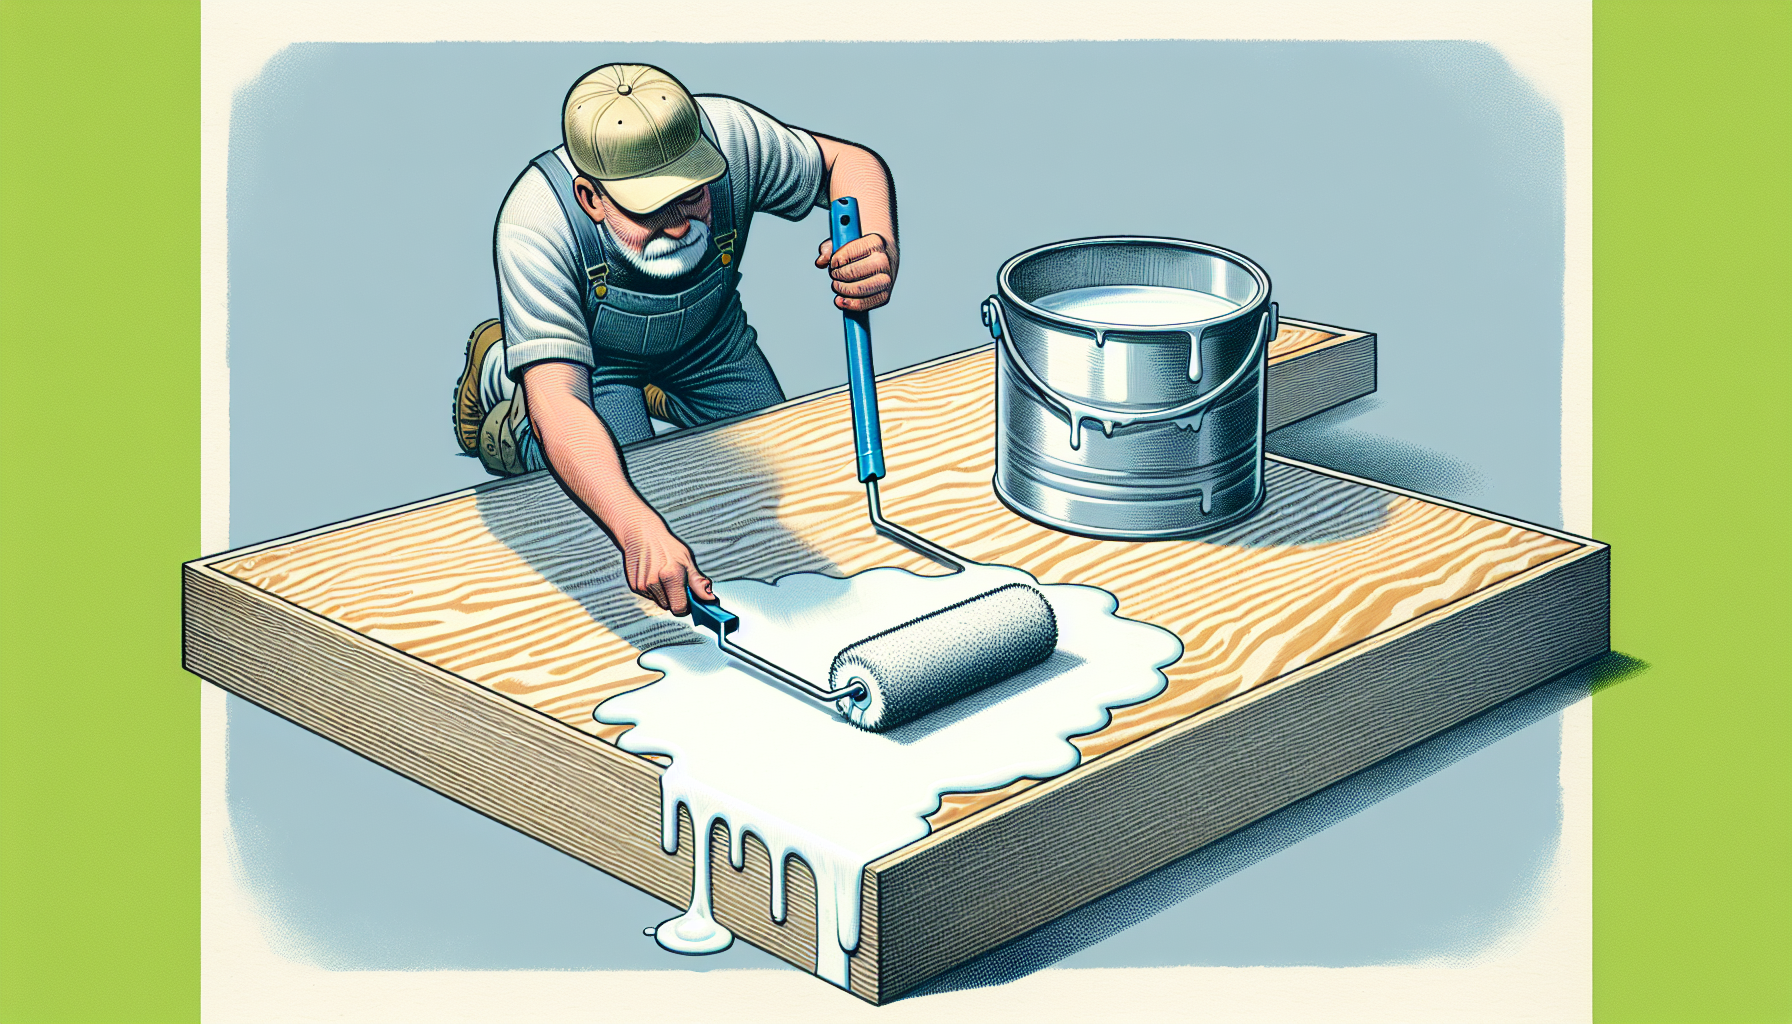
Priming MDF is an essential step that cannot be skipped. MDF is highly absorbent, and without a primer, the paint would soak in unevenly, resulting in a blotchy finish. Priming helps to equalise the surface's absorbency, ensuring better paint adhesion and a uniform appearance.
Selecting the right primer is crucial. Both oil-based and acrylic primers have their advantages, and the choice depends on your specific needs and preferences. Let’s explore the options and application techniques.
Choosing the Right Primer
When choosing a primer for prime MDF, consider the finish and durability you desire. Oil-based primers offer higher durability and better sealing properties, making them ideal for surfaces that will experience heavy use. However, they take longer to dry and have a stronger odour.
On the other hand, water-based primers dry quickly, have low odour and are easier to clean up. They are perfect for projects where time and convenience are factors. Regardless of your choice, ensure the primer is specifically designed for MDF to achieve the best results.
Applying the Primer
Applying primer correctly sets the foundation for a flawless paint job. Here’s how to do it:
- Use a brush to apply primer to the edges.
- Use a roller for the flat surfaces to ensure even coverage.
- A mini-roller or brush is perfect for applying an even layer of Dulux Trade Quick Dry MDF Primer on the MDF surface.
Given MDF’s absorbency, multiple coats of primer might be necessary. Here’s how to apply the primer:
- Apply the first coat of primer.
- Let it dry.
- Lightly sand with 180-grit sandpaper.
- Apply a second coat of primer.
This process ensures a smooth and even base for the final coats of paint.
Painting MDF
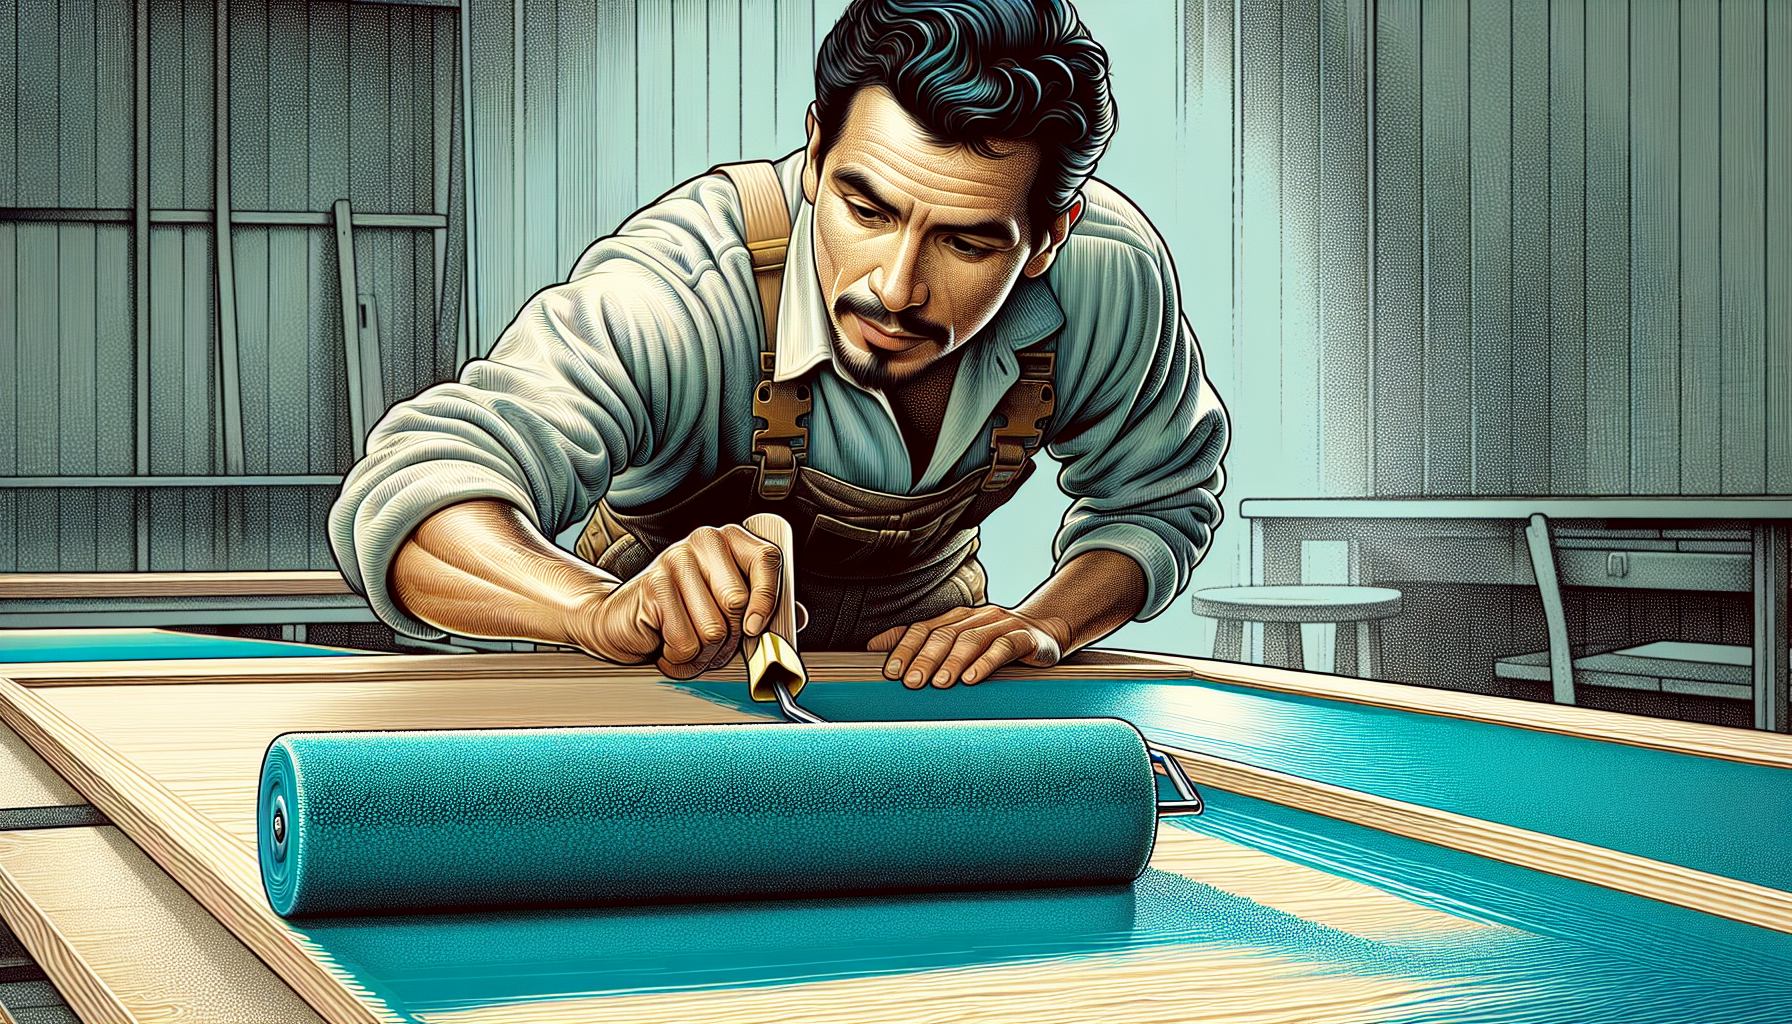
With the MDF primed and ready, it’s time to paint MDF. The key to a professional finish is patience and multiple thin coats of paint. Start with a thin first coat, which acts as a sealant, and allow it to dry thoroughly before applying additional layers.
Choosing the right type of paint is also critical. High-quality acrylic latex or enamel paints are recommended for their durability and stain resistance. Let’s delve into selecting the best paint and the techniques for applying it.
Selecting the Best Paint
Selecting the right paint ensures your MDF project stands the test of time. High-quality acrylic latex paints in satin, semi-gloss, or gloss sheen are ideal due to their durability and stain resistance. These paints provide a beautiful finish and are easy to clean.
Acrylic enamel paints also offer excellent adhesion and durability, making them a top choice for MDF. Avoid oil-based paints, as they lack the adhesion properties required for MDF and can result in a less durable finish.
First Coat of Paint
The first coat of paint is crucial as it sets the tone for the subsequent layers. Apply a thin coat using a high-quality brush, roller, or paint sprayer. This coat can be thinned slightly to ensure a smooth application.
Allow the first coat to dry completely before assessing the surface for any unevenness or patchy areas. This step is essential for a professional finish and prepares the MDF for the next coat of paint.
Adding Additional Coats
Adding multiple thin coats of paint ensures even coverage and a professional look. One coat is rarely enough, as it often results in thin and uneven coverage. Opting for two coats can provide the desired finish and consistency.
Allow each coat to dry thoroughly before applying the next. This prevents drips and streaks, ensuring a smooth and uniform finish. Continue this process until the desired opacity and finish are achieved.
Finishing Touches
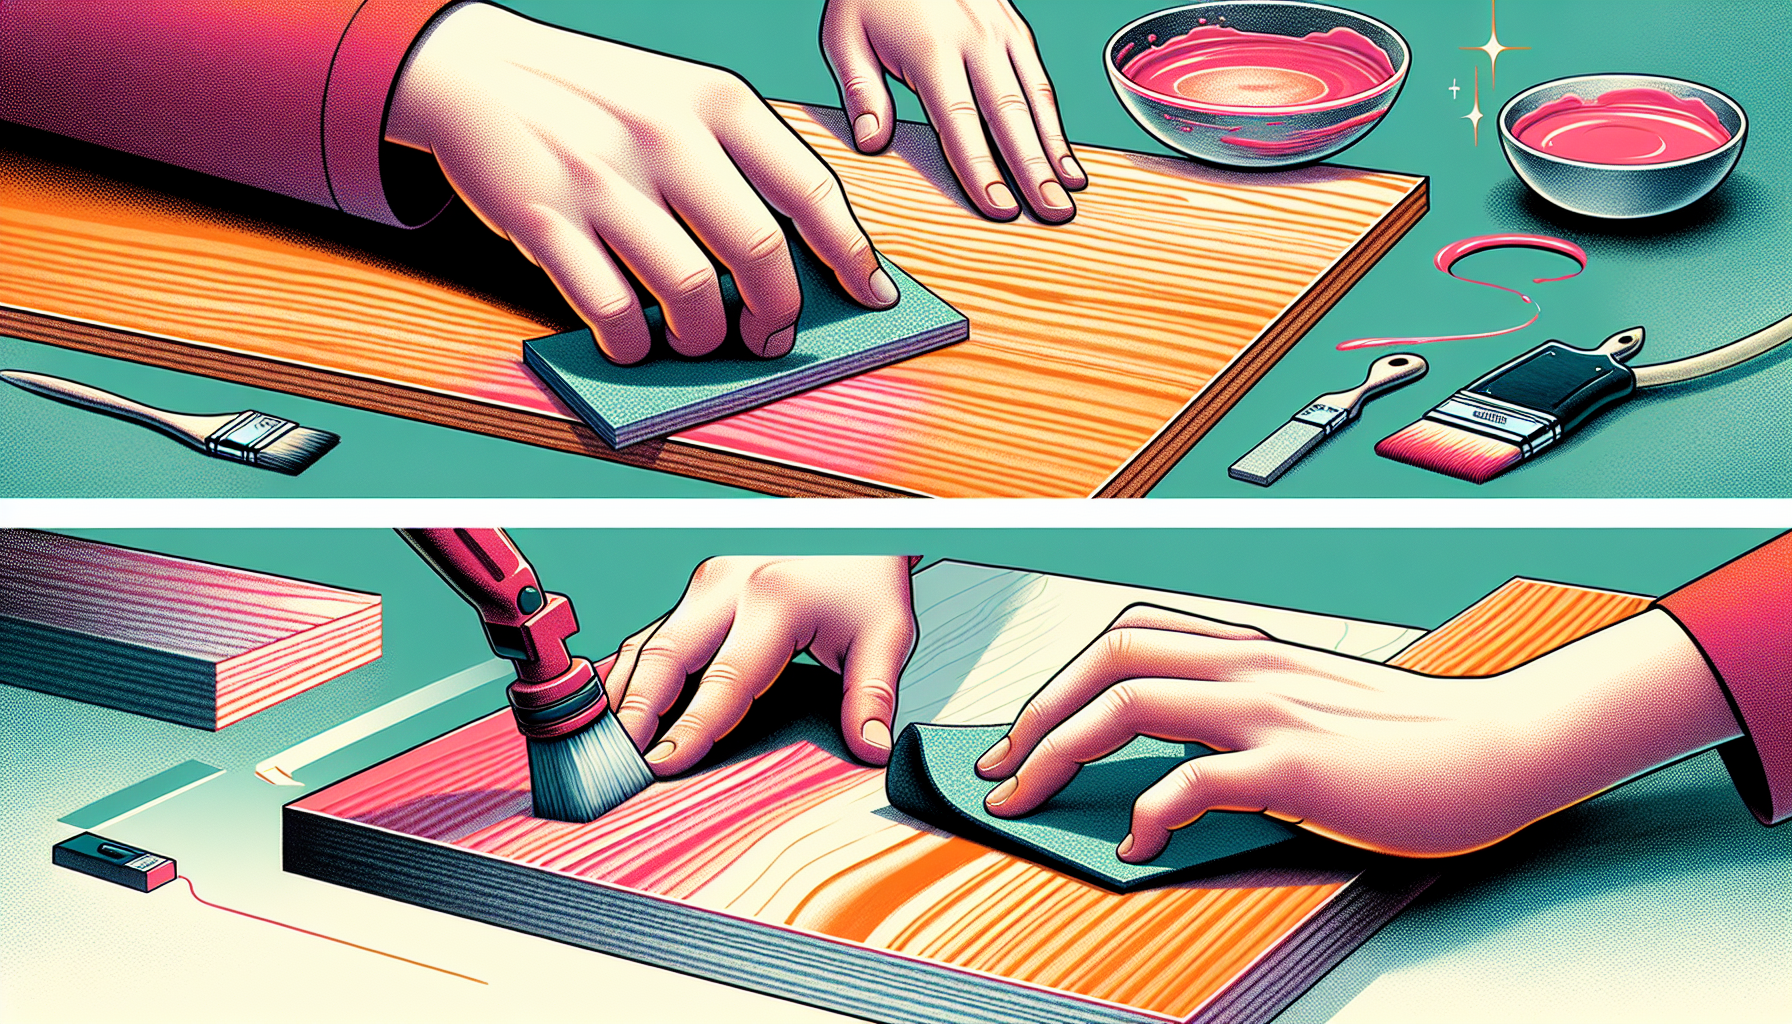
The finishing touches can make or break your painting project, especially when painting furniture. Lightly sanding between coats, applying a protective top coat, and cleaning up properly are vital steps to ensure a polished and durable finish.
These final steps enhance the appearance and longevity of your painted MDF, making all your hard work worthwhile. Let’s explore these finishing touches in more detail.
Lightly Sand Between Coats
Lightly sanding between coats helps blend the layers and eliminate imperfections. Use fine-grit sandpaper, such as 220-400 grit, to roughen up the surface slightly, ensuring better adhesion for the next layer of paint.
This step might seem minor, but it significantly contributes to a smoother and more professional finish. Always clean the dust off with a tack cloth before applying the next coat.
Applying a Top Coat
A clear top coat protects the freshly painted MDF and enhances its durability. Topcoats offer resistance to heat, water, and UV radiation, making your project more resilient.
Depending on the type of paint used, you can choose from clear coats, wax, or varnish. These topcoats prevent chipping and scratching, ensuring your MDF project remains pristine for years.
Cleaning Up
Proper clean-up is essential to maintain your tools and extend their lifespan. Clean brushes and spray guns thoroughly after use to ensure they remain in good condition for future projects. Use solvents like paint thinner for oil-based paints and water for water-based paints.
Common Mistakes to Avoid
Avoiding common mistakes is key to achieving a flawless finish on your MDF project. Rushing the process, skipping primer, and neglecting the edges are the most frequent errors that can derail your efforts.
By following the steps methodically and paying attention to details, you can avoid these pitfalls and ensure a professional and durable finish for your medium-density fibreboard (MDF) furniture.
Skipping Primer
Skipping primer can lead to uneven paint absorption and a patchy finish. MDF is highly absorbent, and without a primer, the paint soaks in unevenly, resulting in a streaky and blotchy appearance.
Always use a primer specifically designed for MDF to ensure proper sealing and preparation. Avoid using ‘all-in-one’ paint and primer products, as they do not provide adequate sealing for MDF surfaces.
Rushing the Process
Rushing through the steps can cause significant issues. Allow proper drying times between coats of primer and paint to avoid drips, streaks, and textural problems.
Patience is crucial to achieving a smooth and durable finish.
Neglecting Edges
Neglecting the edges of bare MDF, which is made from compressed wood fibres, can lead to moisture absorption and swelling over time. To prevent this and ensure the longevity of your project, it’s important to seal MDF and paint the edges thoroughly.
Summary
Painting MDF may seem like a daunting task, but by following these steps, you can achieve a professional and durable finish. From cleaning and sanding to priming and painting, each step is crucial to the overall success of your project.
Take your time, use the right materials, and avoid common mistakes to ensure your MDF furniture looks stunning and lasts for years. Happy painting!
Frequently Asked Questions
Q: Can you paint MDF without priming?
A: No, it is not recommended to paint MDF without priming, as it may lead to uneven paint absorption and a patchy finish.
Q: What type of paint is best for MDF?
A: The best type of paint for MDF is high-quality acrylic latex or enamel paint in satin, semi-gloss, or gloss sheen for durability and stain resistance.
Q: How many coats of paint are needed for MDF?
A: To achieve even coverage and a professional finish, it is recommended to apply multiple thin coats of paint to MDF, allowing each coat to dry thoroughly before adding the next.
Q: Why is it important to seal the edges of MDF?
A: It is important to seal the edges of MDF to prevent moisture absorption and swelling, which helps in achieving a smooth and uniform paint finish.
Q: How long should I wait between coats of paint on MDF?
A: You should wait 2-4 hours between each coat of paint on MDF to allow proper curing and prevent issues like sagging or running.
