Want to cut melamine boards without the mess of chips and splinters? You’re in the right place. From prepping to final touches, we’ll walk you through the process of cutting melamine board so that you can nail that clean, sharp edge every time.
Key Takeaways
- Score, use masking tape, and choose the right saw blade, such as a fine-tooth or carbide-tipped blade, specific for melamine, which is essential for the precision cutting of melamine boards..
- Implement proper cutting techniques by using a straight edge or guide rail for circular saws, scoring before cutting to reduce chipping, and supporting the board with a sacrificial piece to improve the quality of the cut.
- Complete the project with finishing touches by sanding edges, applying edge banding with an iron, and filling any imperfections. Always prioritise safety with protective gear and maintain tool sharpness for best results.
Preparing Your Melamine Board for Precision Cutting

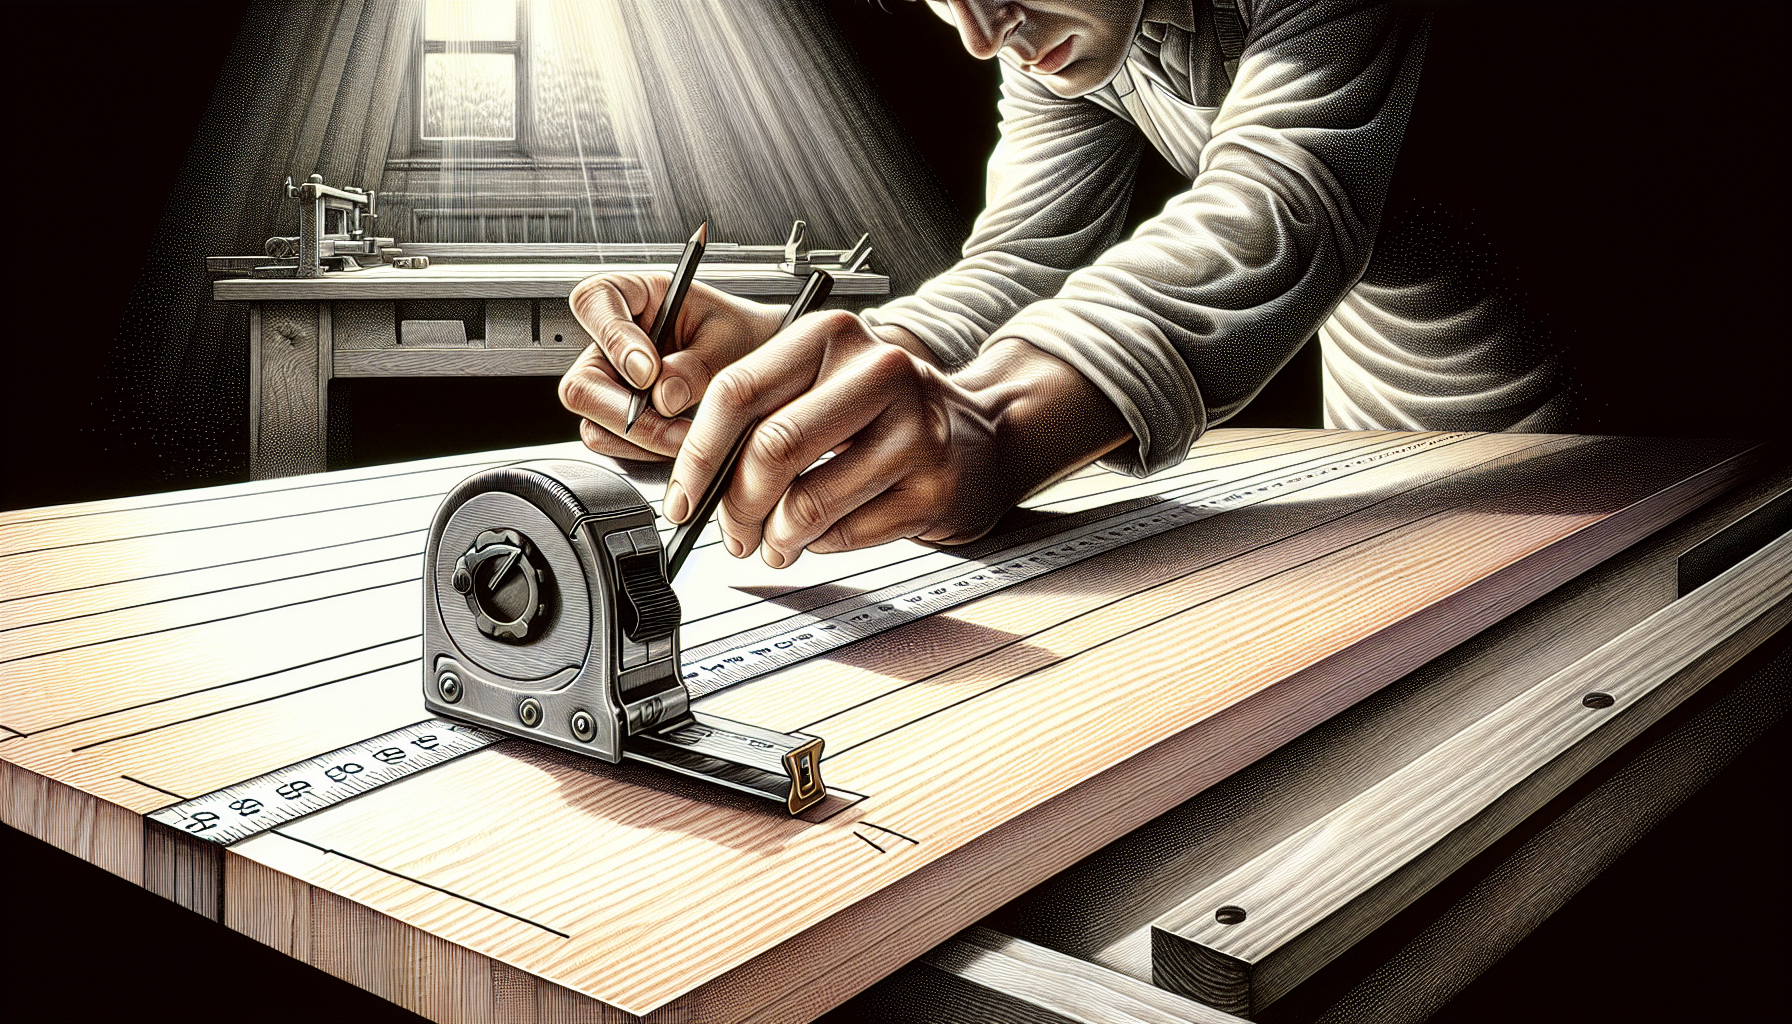
Preparation is key to a perfect cut. Before transforming a melamine board into a masterpiece, preparing for a precise slice is crucial. Start by measuring and marking your cut line with utmost attention to detail. A light scoring along this line, done with a straight edge and utility knife, will serve as a prelude to the main event, minimising the risk of chipping when the saw does its dance.
Securing masking tape over the line is equally important. This acts as a visual aid and reinforces the melamine edges, guaranteeing a neat final cut. If the reverse side is visible, repeat the process to protect both faces of your board.
Choosing the Correct Saw Blade
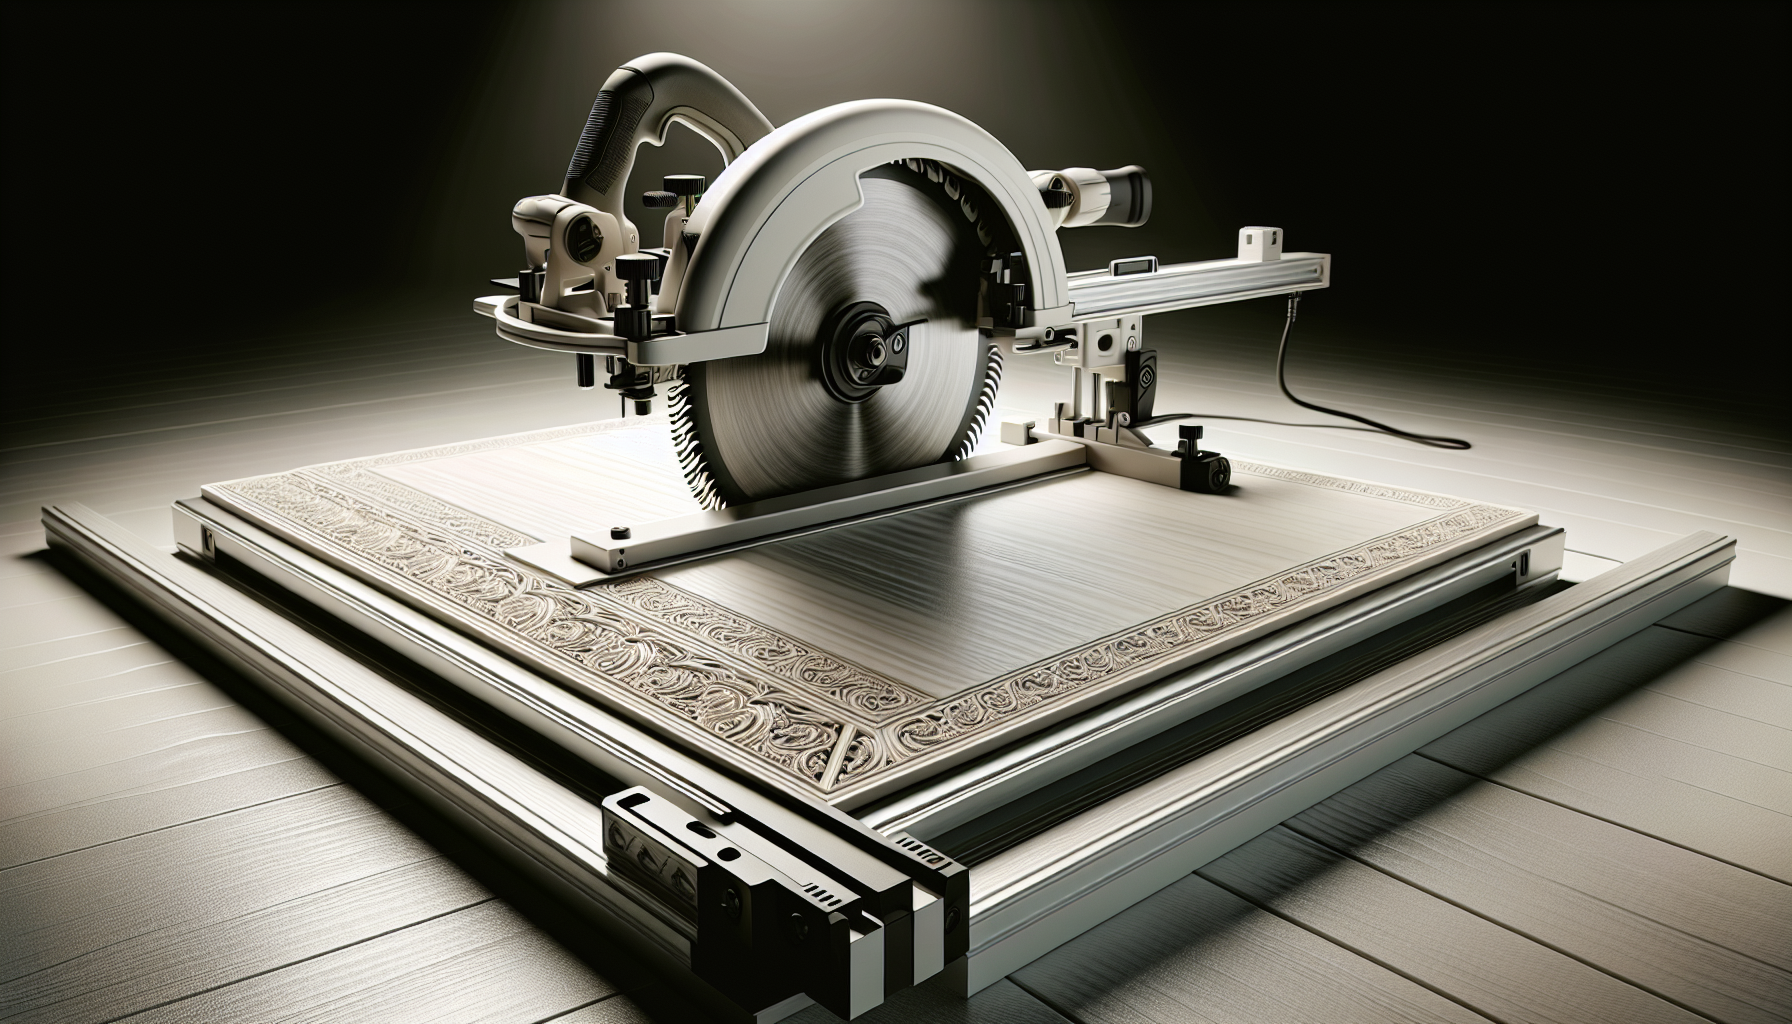
Cutting melamine requires more than just any cutting blade. The secret to a cleaner cut is using a high-quality, fine-tooth blade. Think of it as a surgeon selecting the sharpest scalpel for a delicate operation. For circular saw users, a blade specifically designed for melamine with as many teeth as possible is your best bet for a smooth, surgical cut.
Table saw aficionados will find an 80-tooth carbide-tipped blade to be ideal for slicing through melamine with precision. Remember, it’s not just about the blade but ensuring it’s one that’s made for the job at hand.
Setting Up for the Perfect Cut

Once you have the right blade in place, concentrate on the setup. Achieving a perfectly clean-cut edge is all about precision and stability. Your saw blade should be set up to kiss the melamine board at a shallow angle, ensuring that it’s not too aggressive, which might lead to tearing out.
For those who prefer a circular saw, employing a straight edge or guide rail is crucial to cutting straight and preventing the blade from wandering off course. For the avid perfectionist, a plunge-cut saw with a track rail can be your surest ally for perfectly straight cuts through the dense forest of melamine.
Executing the Cut: Techniques for Clean Edges

This is the critical moment – execute the cut. But how do you ensure those factory-like edges that are the envy of every craftsman? Whether you prefer a hand saw's controlled motion or a circular saw's power, the goal remains the same: chip-free cuts.
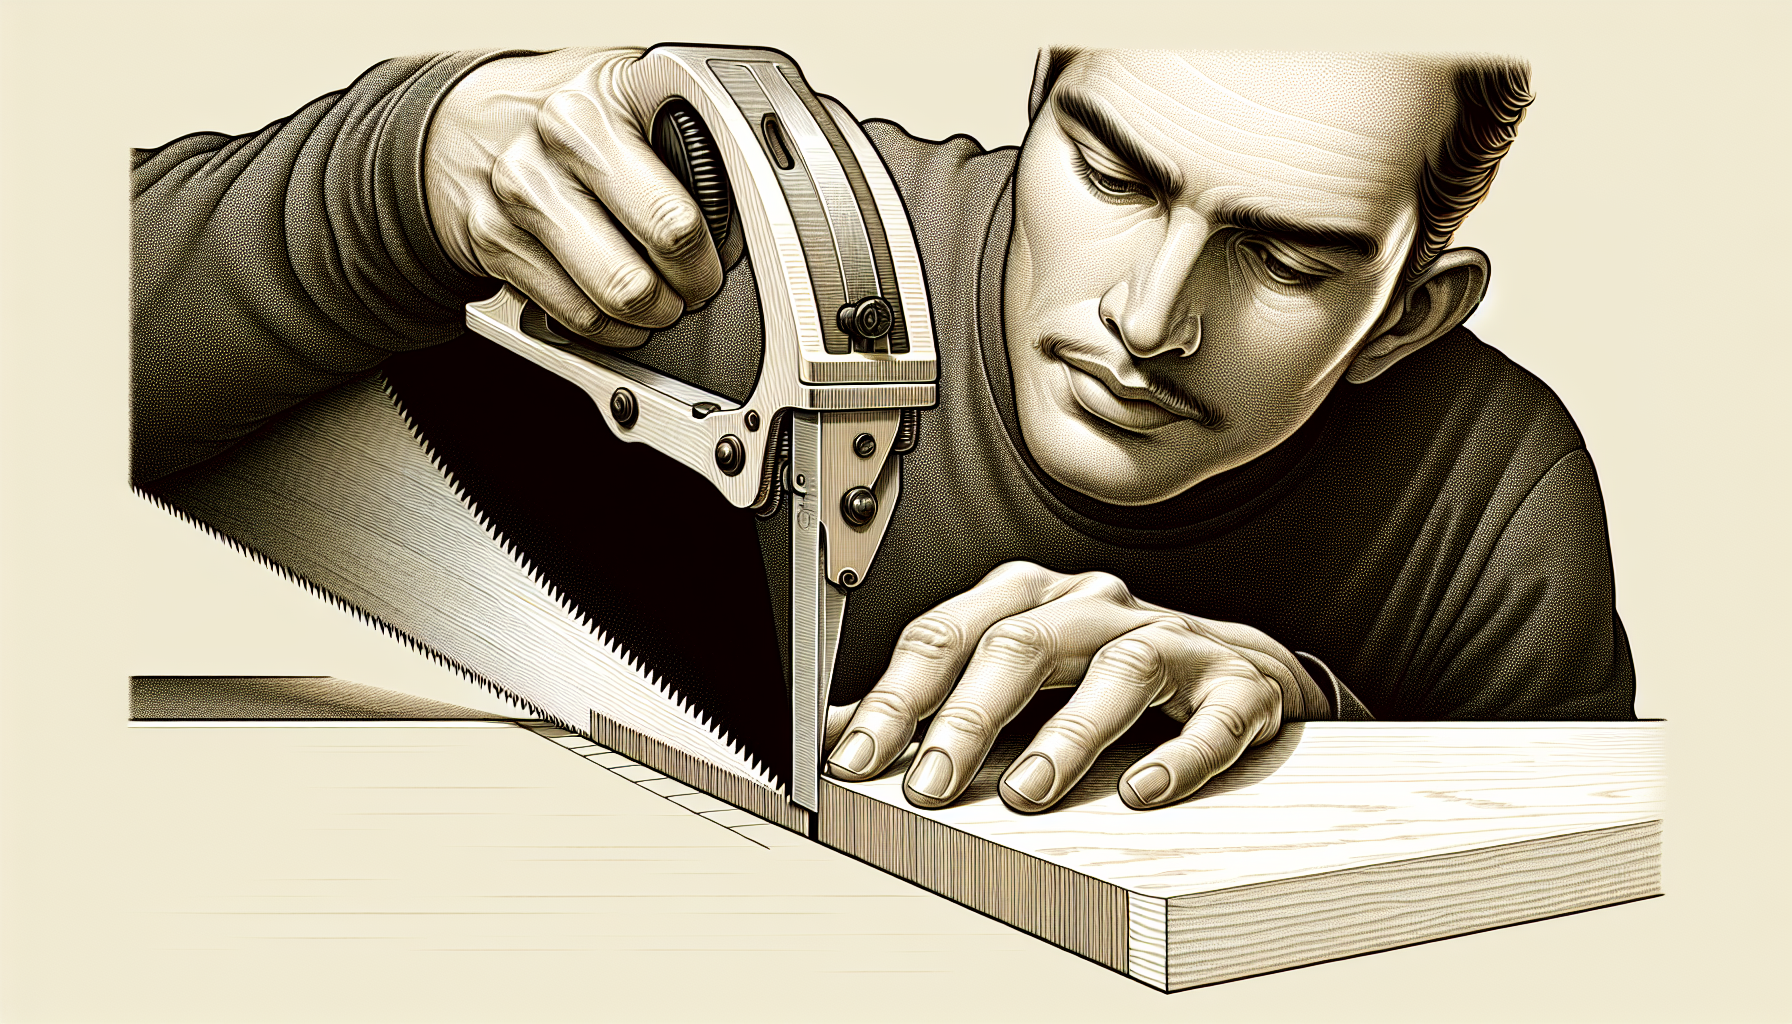
Hand saws, with their hard point teeth, are excellent choices for those who favour manual control. For a more modern approach, a circular or plunge saw equipped with a high-quality blade ensures that each pass through the melamine is as smooth as silk.
Scoring for Success
Scoring is not just a technique reserved for bakers and their bread. In the realm of melamine, scoring is the pre-emptive strike that prevents chips from occurring. A scoring blade, guided along the cut line, creates a shallow groove that beckons the saw blade to follow, much like a siren’s call. With a fresh-bladed Stanley knife, the cut line becomes the pied piper, leading the way for a cut so clean that chips dare not occur. The blade height plays a crucial role in achieving this precision.
Remember that this initial incision is your commitment to a chip-free cut.
The Importance of Supporting the Surface
Without proper support during the cutting process, your melamine board is like a tightrope walker without a safety net. The unsung hero is a sacrificial piece beneath your board, there to catch the remnants and ensure a clean cut on the top surface. This method protects the underside of your melamine board and contributes to the cut's overall quality.
If you’re working with multiple sheets, stack them atop the sacrificial board, which adds pressure and further reduces chipping, ensuring each slice is smoother than the last.
Finishing Touches: Achieving Smooth Melamine Edges

Even though the cutting process has ended, the pursuit of perfection continues. Once the bulk of the work is done, the finishing touches elevate your project from good to great.
Begin by trimming any excess material to ensure your melamine edges are sharp and safe to handle. Follow this with gentle sanding to whisper away any roughness, leaving behind edges that are smooth to the touch and pleasing to the eye.
The magic lies in the details, and this final finesse is what gives your cut melamine board that coveted professional sheen.
Applying Edge Banding
What can be done about the raw edges that reveal the board’s humble beginnings? That’s where edge banding comes in – the elegant gown that dresses the edges of your melamine board in seamless beauty. The cut edge must be free of any previous finishing materials to ensure the banding adheres properly.
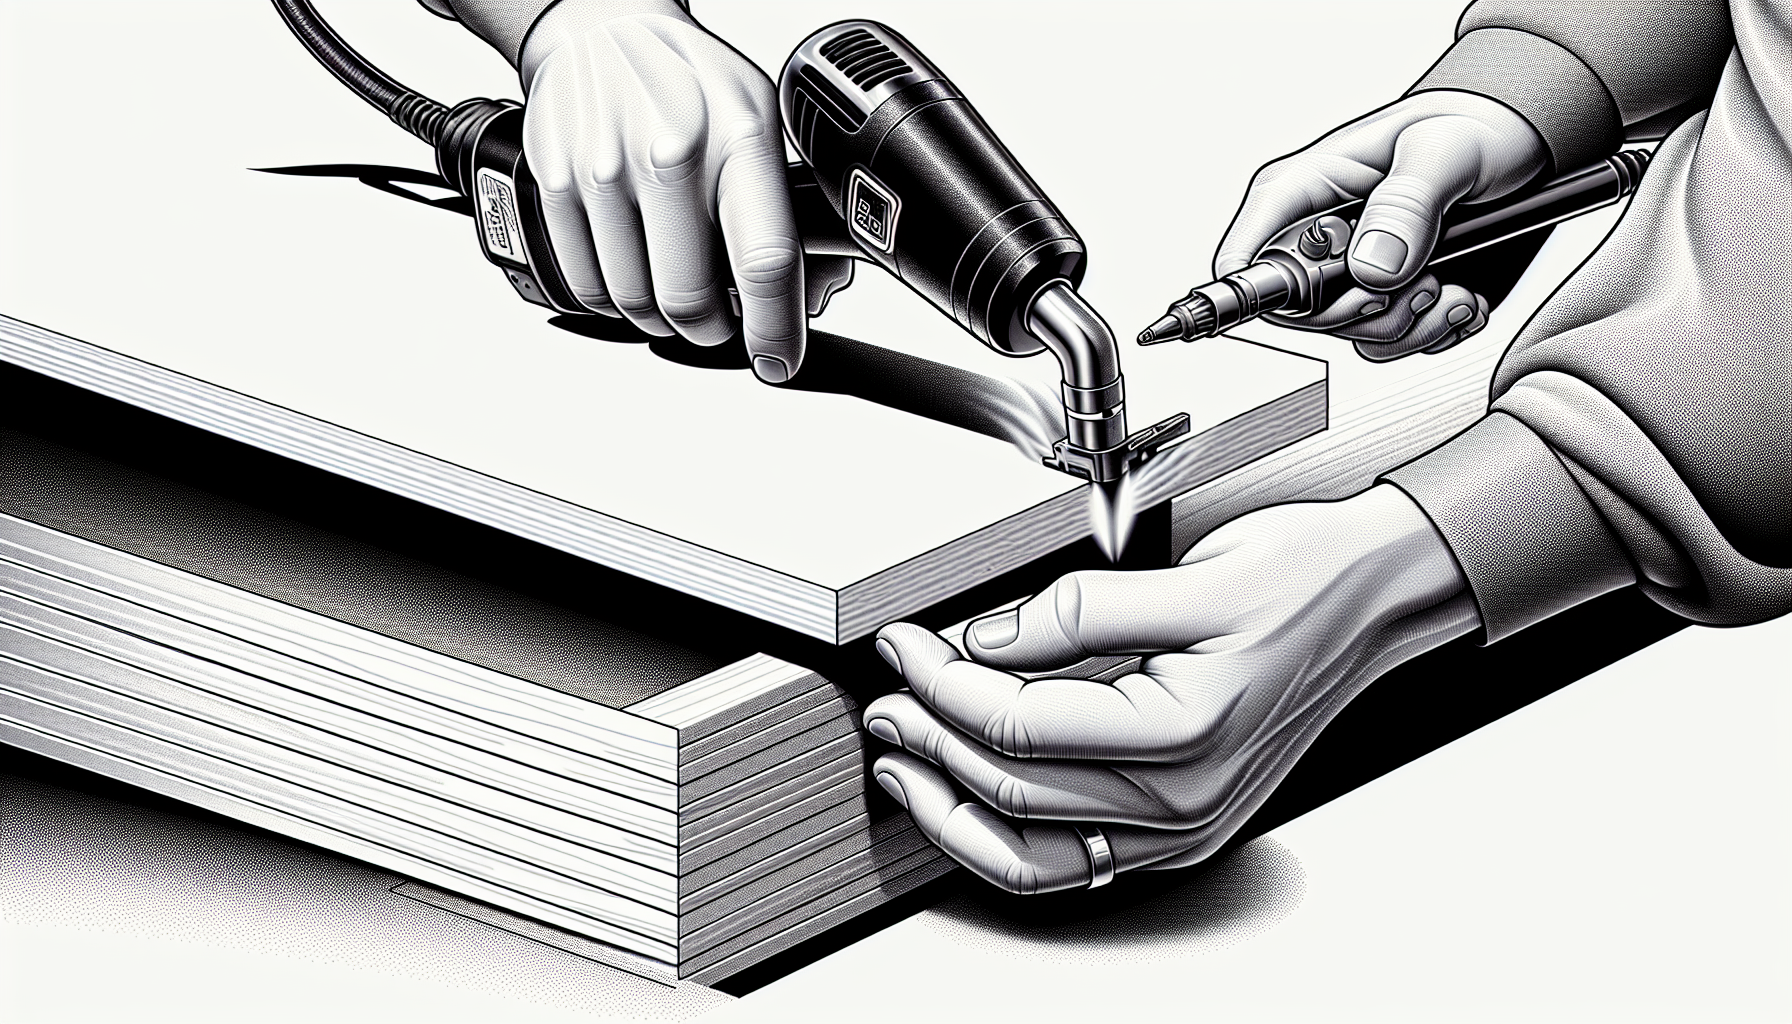
A domestic iron is the tool of choice, set to a temperature high enough to activate the adhesive but gentle enough not to scorch. Follow the ironing with a firm rub using a cloth-covered block to marry the banding to the edge, ensuring it sticks through thick and thin. Trim any excess with a router bit or a sharp knife, smoothing out the final look with a sanding block for that factory-like finish.
Sanding and Filling Techniques
Despite our best efforts, sometimes the melamine edges may not be as flawless as we’d like. Fear not, for sanding and filling techniques are here to save the day. A quick dance of sandpaper along the edge can erase any imperfections, leaving behind a surface smooth enough to reflect your pride.
For those unfortunate scratches or chips that mark the board’s surface, specialised filling products such as Seamfil or coloured wax sticks are like concealer for melamine—they cover up the blemishes, restoring the surface to its former glory.
Ensuring Safety and Accuracy

Before immersing ourselves in the art of melamine crafting, we must remember the significance of safety and accuracy. Like a knight donning armour, equip yourself with protective gear:
- Protective gloves to shield your hands from splinters and slips
- Safety glasses or a full face shield to protect your vision
- Ear plugs or muffs to protect your hearing from the roar of the saw
- A respirator to safeguard your lungs from the fine particles
- Safety footwear to provide a firm foundation
Remember, safety should always be a priority in your crafting endeavours.
Advanced Tips from the Pros
For those striving for excellence, professional advice is invaluable. Blades and router bits should be replaced often, for the melamine’s resin is a sly adversary that easily dulls the sharpest of edges. When used with a circular saw, a factory-edged guide can lead to the most precise of cuts, ensuring your board’s edge is straighter than an arrow shot by a master archer.
For intricate cuts where every millimeter counts, a multi-tool can carve out detailed work that would make Michelangelo take notice. Lastly, if you find your edges need a touch more refinement, a router, planer, or belt sander can smooth out any remaining roughness, leaving behind a finish that feels like it’s been kissed by the gods.
Customising Your Melamine Board
With your improved skills, you can now shape the world of melamine boards as you wish. Customisation is not just a possibility but a beckoning horizon, offering an array of colours and finishes to match your wildest dreams. From the regal black to the pristine white or the warmth of oak effect, your choice of melamine board cut to size allows you to craft pieces that are uniquely yours.
Should you require a touch that’s beyond the ordinary, bespoke shelving services, await your command, ready to deliver a competitive quotation that brings your vision to life. Whether it’s through a personal touch over the phone or the convenience of online services, precision-cut melamine board solutions are at your fingertips, with a promise of delivery swifter than the changing tides.
Summary
Each step has been a building block toward excellence, from preparing the board meticulously to choosing the right blade, setting up for the cut, and executing it with finesse. The finishing touches of edge banding and sanding are the signatures of a true craftsman, and the safety measures are a testament to the responsibility that comes with the art. We’ve gleaned wisdom from the pros and discovered the joy of customisation, all culminating in a melamine masterpiece that is a testament to your skill and dedication. May this guide serve as your compass in the world of melamine crafting, leading you to projects that reflect not just your talent but your passion for perfection.
Frequently Asked Questions
Q: What is the best saw blade to use when cutting melamine to avoid chipping?
A: To avoid chipping when cutting melamine, it's best to use an 80-tooth carbide-tipped blade for table saws or a high-quality blade with a high tooth count for circular saws.
Q: How can I prevent the saw blade from straying during a cut?
A: To prevent the saw blade from straying during a cut, use a straight edge or guide rail with your saw. This will ensure the blade follows the intended path and reduce the chance of wandering.
Q: What should I do if the edges of the melamine board are rough after cutting?
A: To smooth out rough edges on the melamine board after cutting, lightly sand them and consider using edge banding for a professional finish.
Q: How do I repair chips or scratches that occur during cutting?
A: To repair chips or scratches on the melamine surface, use specialised filling products like Seamfil or coloured wax sticks for effective results.
Q: Can I customise the size and finish of my melamine board?
A: Yes, you can customise the size and finish of your melamine board to suit your specific needs and preferences.
